Summary: This article mainly introduces the methods of transferring and restoring data on Samsung Galaxy A52s 5G.
Compared with Samsung Galaxy A52 5G, Samsung Galaxy A52s 5G is equipped with Snapdragon 778G, which is a 6-nanometer chip produced at TSMC’s foundry, with four Kryo 670 cores, Adreno 642L GPU and X53 5G modem. The second major upgrade brought by the Galaxy A52s 5G is the 25W fast charger.
The upgrade of Samsung Galaxy A52s 5G brings a better experience, so we can start with this phone. The following content will bring you an introduction to the methods of transferring data from old devices to Samsung Galaxy A52s 5G and restoring Samsung Galaxy A52s 5G data.
When you need to transfer large amounts of data from one phone to another, it is particularly important to choose an efficient method. Mobile Transfer can help you transfer data from old devices to Samsung Galaxy A52s 5G quickly and safely. It can transmit a wide variety of data, such as contacts, call records, text messages, photos, videos, audios, apps, etc. Moreover, it can synchronize data between almost all smartphones. If you want to transfer data from old iPhone to new iPhone or from iPhone to Android phone or from Android to all IOS devices (iPhone, iPad, iPod) or from Android to Android, it can be done easily. In addition, its safety performance is also very satisfactory. It only scans your device, and will not leak any of your data in the process of using it to transfer data.


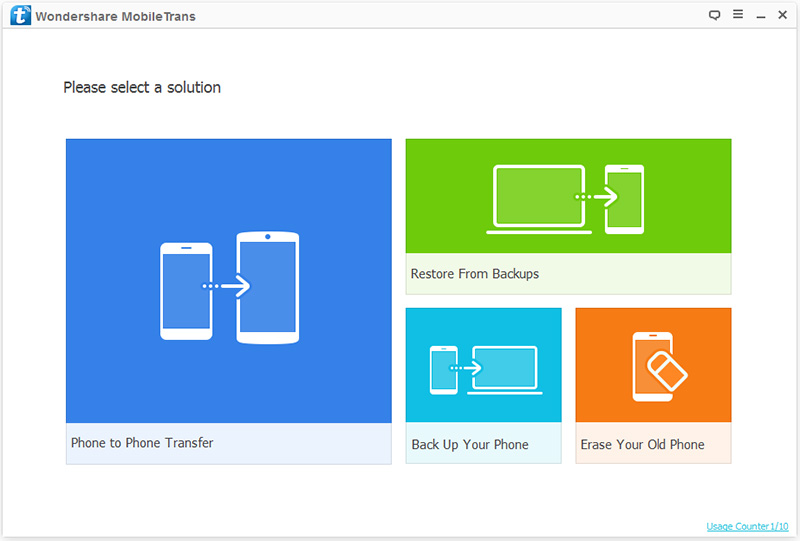
Step 1: First download, install and run Mobile Transfer on your computer. Please click the “Phone To Phone Transfer” mode on the main interface, and then click “Start”.
Step 2: Now, please use the USB cables to connect Android and Samsung Galaxy A52s 5G to the computer. After the connection is successful, Android will be displayed on the left of the main interface, and on the right is Samsung Galaxy A52s 5G.

Note: If the order is not correct, in order to ensure that the next steps can proceed smoothly, you need to click the “Flip” button to swap the positions of the two phones.
Step 3: Next, please select the data you need to transfer in the data directory on the main interface, and click “Start Transfer” after the preview is confirmed to transfer the data to your Samsung Galaxy A52s 5G. At this time, the transfer progress bar will appear on the main interface.

Note: If you want to delete the existing data of Samsung Galaxy A52s 5G before transferring, you can select the “Clear data before copy” button. Please do not interrupt the connection between the phone and the computer during the transfer.
Mobile Transfer can also back up data. As long as you use it to back up data, recovery will be much simpler.
Step 1: Run the software, then click the “Restore from Backups” mode on the main interface, and then click “MobileTrans” in all items.
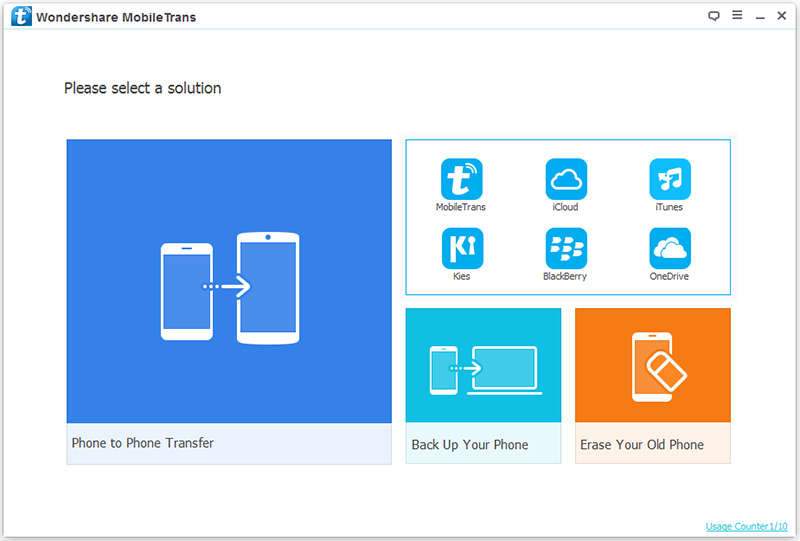
Note: Choose “MobileTrans” because you have previously used this Mobile Transfer software to back up the data in your Android phone. In addition, the program also supports other backup files, such as Kies backup, iCloud backup, iTunes backup, etc.
Step 2: Now please use a USB cable to connect Samsung Galaxy A52s 5G to the computer, and then select a desired backup file.
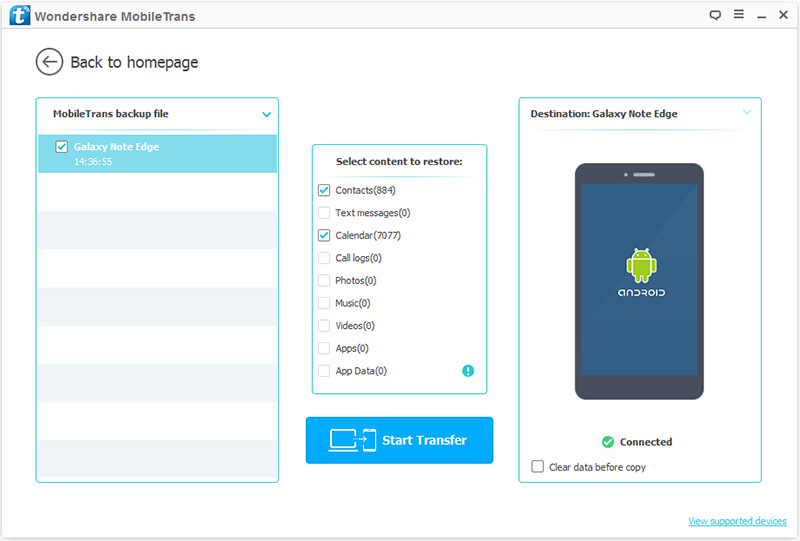
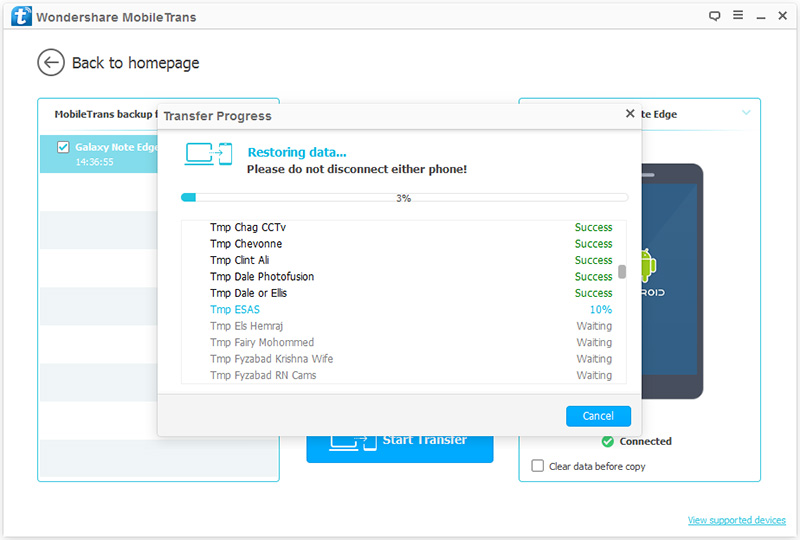
Step 3: After the computer detects your device, select the file type as needed, and then click “Start Transfer” to sync to your Samsung Galaxy A52s 5Gs. Immediately after that, the transfer progress bar will appear on the interface.
When you delete or lose data by mistake, do you worry about not having a good recovery method? And the lost data has not been backed up yet? Then you are very suitable to use Android Data Recovery. It is tailor-made for users who do not have backup data. Or you have many ways to recover your data, but they can be complicated and have a low success rate. It is very simple to use, has a high success rate, and can save you a lot of time. According to the software prompts, it only takes a few clicks to complete. In addition, it can recover not only the data of Android phones, but also the data of Android tablets and computers. Moreover, it also comes with an excellent backup function, which provides an extra guarantee for your data security.
Step 1: First download, install and run the program on your computer. After entering the program, please click the “Android Data Recovery” mode on the main interface.

Step 2: Now please connect Samsung Galaxy A52s 5G and your computer via a USB cable. Immediately after that, the main interface will display a progress bar. After entering the program completely, it will automatically detect your Android version. You need to turn on the USB debugging of Samsung Galaxy A52s 5G according to the steps provided by the program, and then click “OK”.

Step 3: Now, please tick the type of data you need to recover, and click “Next” after confirming. Then the program will scan your phone.

Note: Because the program needs permission to scan for deleted and lost data, if your device pops up a window, remember to click on the “Allow” button on your device to make sure the request is remembered. If your device does not pop up such a window, please click “Retry” to try again.

Step 4: After the scan is completed, the main interface displays the type of data that can be recovered. If you preview and confirm the data type, click “Recover”. All data that needs to be recovered will be saved on your computer.

We can use Android Data Recovery to back up the data, so it will be easier to restore the backup data. Please follow the steps below.
Step 1: Run the program on the computer, and then click “Android Data Backup & Restore”.
Step 2: Please use a USB cable to connect Samsung Galaxy A52s 5G to the computer.
Step 3: Now, the “Device Data Restore” and “One-click Restore” options appear on the main interface.

Note: If you are not restoring all the data, we suggest you select the “Device Data Restore” mode here, because it will take less time and take up less phone memory.

Step 4: Now, please select the backup you need from the backup list, and then click “Start” to extract the recoverable files. Wait for all the content to be extracted, select the required files, and then click “Restore to Device” or “Restore to PC” to restore them.
