Summary: This article will tells you three simple ways to recover the deleted and lost Viber messages including chat history and attachments from any of your iPhone devices.
Have you ever had such an annoyance: When you have some wrong operations, the important Viber Messages and Attachments in your phone are deleted, and you don’t know how to recover. Don’t worry, after reading this tutorial, you will be able to restore Viber Messages and Attachments using the three simplest methods in the world.
As we all know, Viber is a cross-platform VoIP and instant messaging software. Viber users can make free calls, send text messages, pictures, and more. Due to the convenience of Viber, more and more people are using Viber. However, users may also have some problems during use: when transferring information through Viber, accidentally deleting or other reasons, Viber Messages and Attachments are lost. At this time, users can recover deleted Viber Messages by using iPhone Data Recovery.
iPhone Data Recovery is a professional data recovery software. It can recover almost all the data on the iPhone, such as iMessages, contacts, notes, call logs, WhatsApp history, reminders, voicemails, voice memos, Safari bookmarks, and Viber/Kik/Wechat information and more. iPhone Data Recovery is also super compatible. It is compatible with all versions of the iPhone, whether it’s the latest iPhone 11/iPhone 11 Pro/iPhone 11 Pro Max or the early iPhone 4/5. With iPhone Data Recovery, you can quickly recover the data you need.


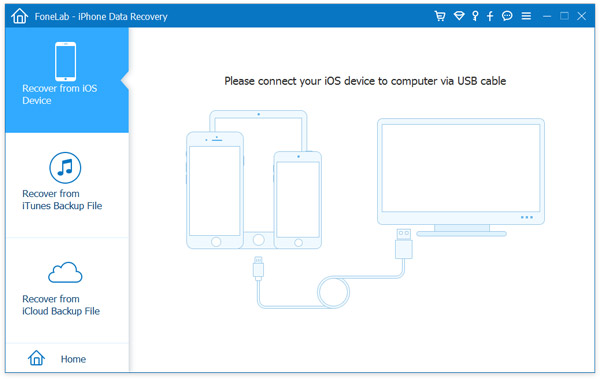
Step 1: First, you need to download and install iPhone Data Recovery on your computer and launch it. Then, select the “Recover from iOS device” mode on the iPhone Data Recovery page. Once you’ve made your selection, connect your iPhone to your computer by using a USB cable.
Step 2: After your iPhone is connected, click on “Start Scan” on the page to scan the data.
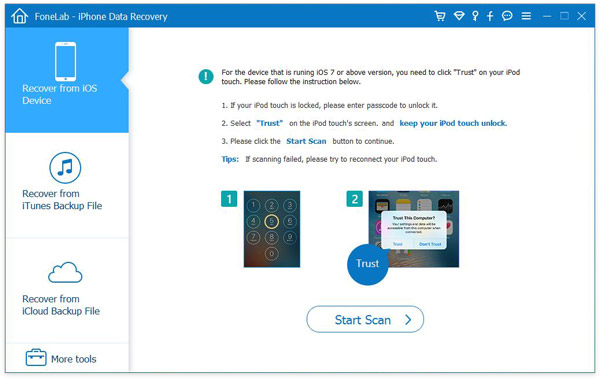
Tips: If you are an iPhone 4/3GS user, click on “Advanced Mode” in the lower right corner and enter the scan mode according to the prompt given by iPhone Data Recovery.
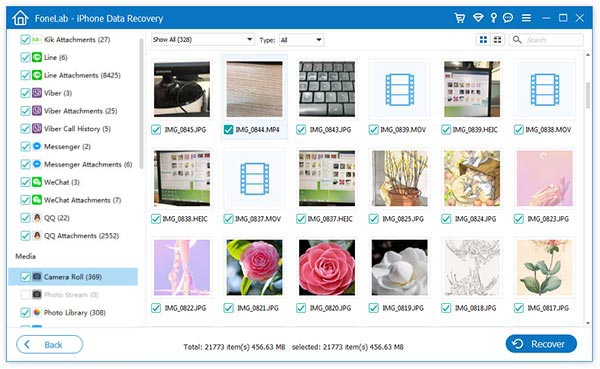
Step 3: After scanning, you can see all the data that can be recovered and the specific information of each specific item on the iPhone Data Recovery page. Select the data you need to recover and click “Recover” to restore it. If you only need to restore Viber Messages and Attachments, then you only need to select “Viber”, “Viber Attachments” on the left side of the window, and then click “Recover”.
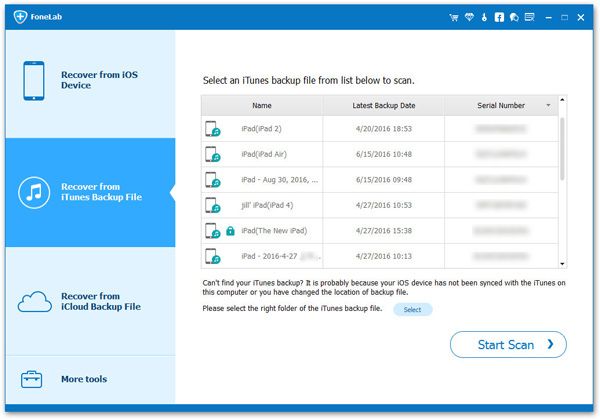
Step 1: After running iPhone Data Recovery, select “Restore files from iTunes backup” mode on the page. You will be able to see the data backed up by iTunes on the page. Select a backup file that you need to restore and click on “Start Scan”.
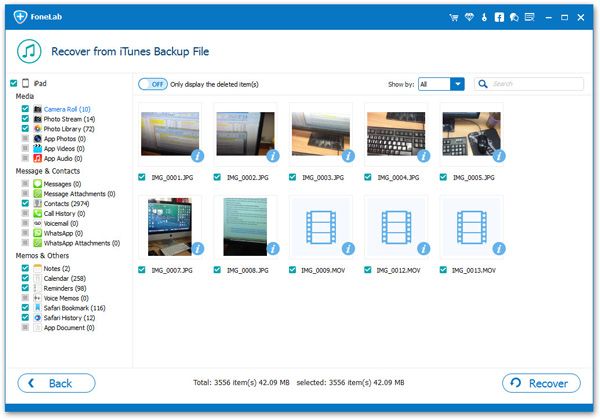
Step 2: After scanning, the data on from your backup will be extracted. Select the Viber messages that you need to restore and click “Recover” to restore the data to your computer.
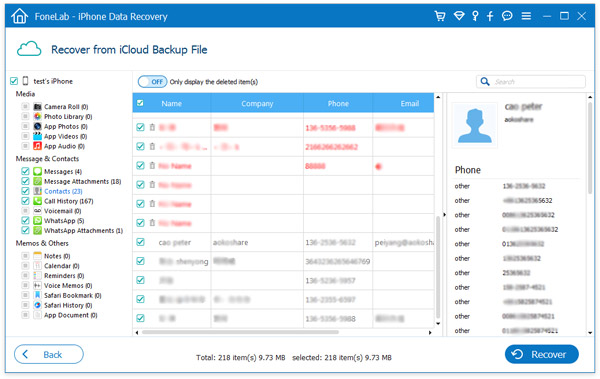
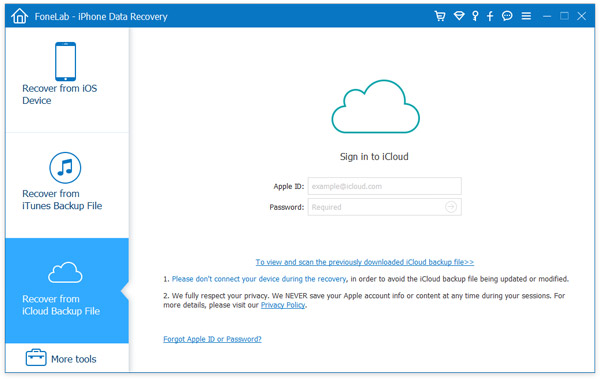
Step 1: Run iPhone Data Recovery, select “Restore from iCloud Backup File” mode on the page, and log in to the iCloud account.
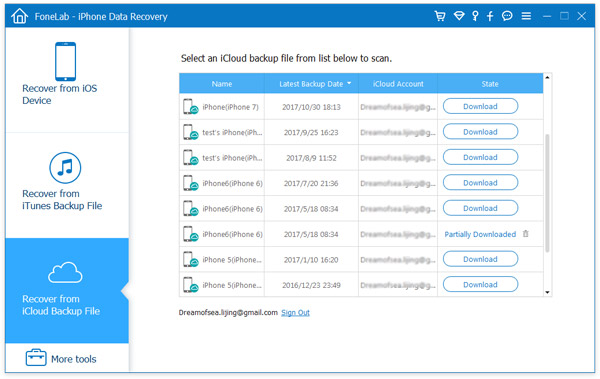
Step 2: Now, iPhone Data Recovery will automatically provide you with backup data from your iCloud account. Select the backup data in iCloud according to your needs and download it to your computer.
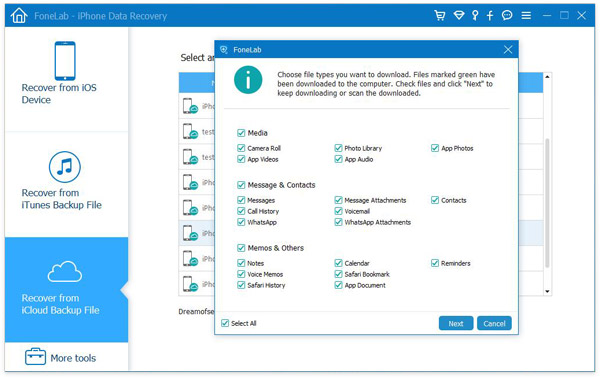
After downloading, iPhone Data Recovery will display all data types that can be recovered. Select “Viber” and “Viber Attachments” from the pop-up dialog and click “Next” to scan.
Step 3: After scanning, you can preview all the scan results on your computer, select the Viber messages you need to restore, and click “Recover” to save them back to your computer.