Summary: This article will focus on Nokia C12 and how to transfer up to 17 types of data files (including contacts, apps, music, call logs, etc.) using Mobile Transfer and how to recover data to Nokia C12 using Android Data Recovery.
Nokia C12 as an entry phone market model, the front screen is a 6.3-inch LCD waterdrop screen, on top of which Nokia C12 the smartphone supports 720P resolution. In the core configuration, Nokia C12 smartphone processor is from the domestic ZiGuang ZhanRui Unisoc SC9863A1 chip, built-in 3000mAh battery, claimed to have “all-day battery life”, support 5W charging. In terms of camera configuration, the Nokia C12 smartphone has an 8-megapixel main camera on the rear and a 5-megapixel front camera.
Although Nokia has faded out of sight, it is different from other phones in that Nokia relies on mass-produced new products to gain more users and will show them their best products, which is probably why you bought it. Therefore, we will also explain to you in detail how to use data management software for data transfer and data recovery with Nokia C12.
To transfer data from your old phone to your new phone Nokia C12, then there is no doubt that Mobile Transfer is the best choice for you. Mobile Transfer is a multi-functional data transfer software assistant, a 0-risk software, which is very easy to operate and requires only two USB cables and a few simple steps to complete the transfer of relevant data, supports the transfer of up to 17 types of data, including contacts, videos, applications and other comprehensive transfers, and is compatible with all smartphone products on the market. In addition, the software is used to protect the privacy of user data is extremely important, security is very high.


Without further delay, please click the corresponding button according to your computer system to download this software to your computer. After installation, please follow the steps in Part 1-2 to learn how to use this powerful software.
Step 1: On your computer, select Download Mobile Transfer software from the following buttons depending on your device, install and run the software.
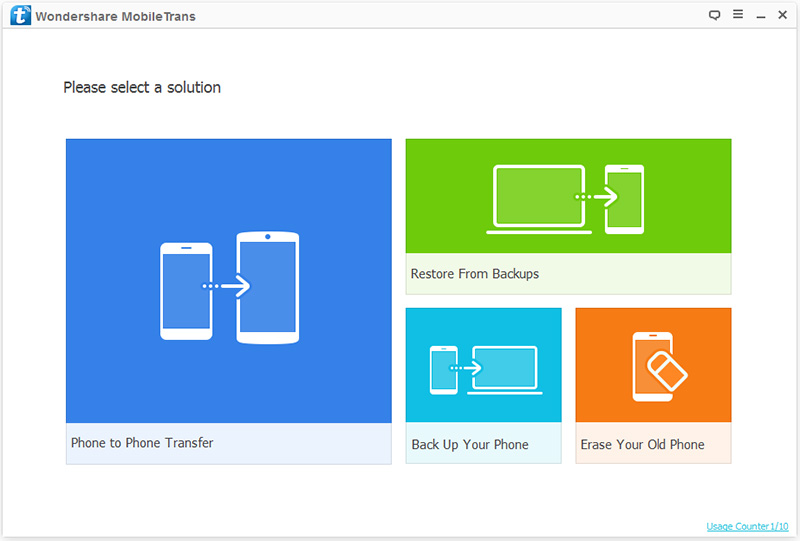
Step 2: On the main screen, select “Phone to Phone Transfer” mode and click “Start”.
Step 3: Now, connect your old Android/Samsung device and Nokia C12 to the same computer using the USB cable. After successful connection, please note that the old Android/Samsung should be on the left side and Nokia C12 should be on the right side.

Note: If the connection is reversed, please click the “Flip” button to swap the position of the two phones for later operation.
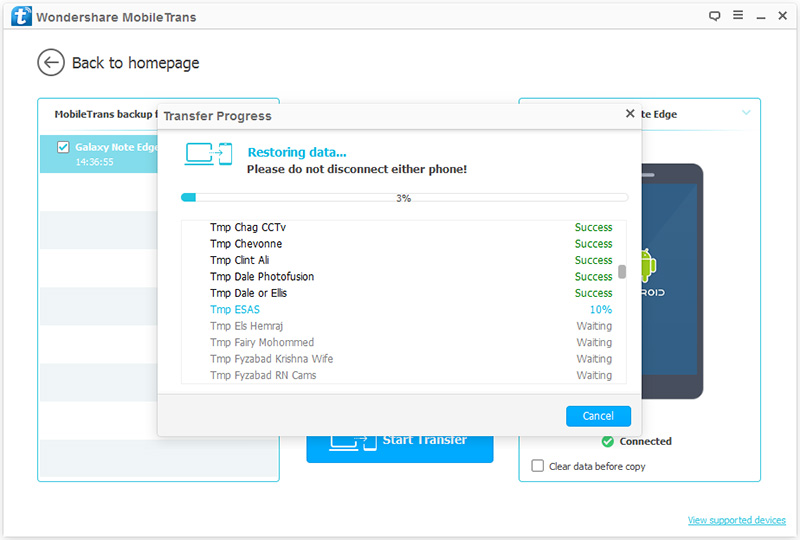
Step 4: After listing all the files, select the files you need to transfer and click the “Start Transfer” button. It will start transferring data to your Nokia C12 and the main interface will show the progress bar of the transfer.

Step 1: Go back to the main Mobile Transfer screen, then click on “Restore From Backups” mode and select “MobileTrans” from all items.
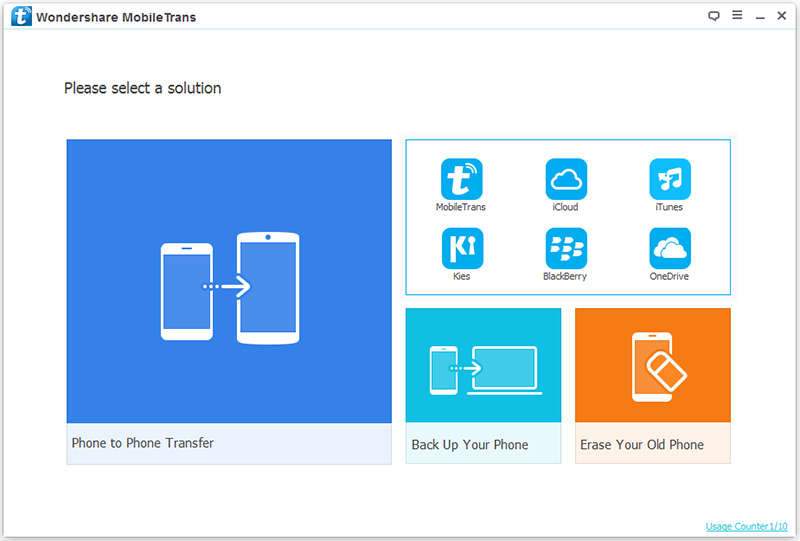
Note: Only MobileTrans backup files will be used this time, if you have other backup files, you can also click the Other button to do the following.
Step 2: Connect your Nokia C12 to your computer using USB and be careful not to disconnect during the backup process.
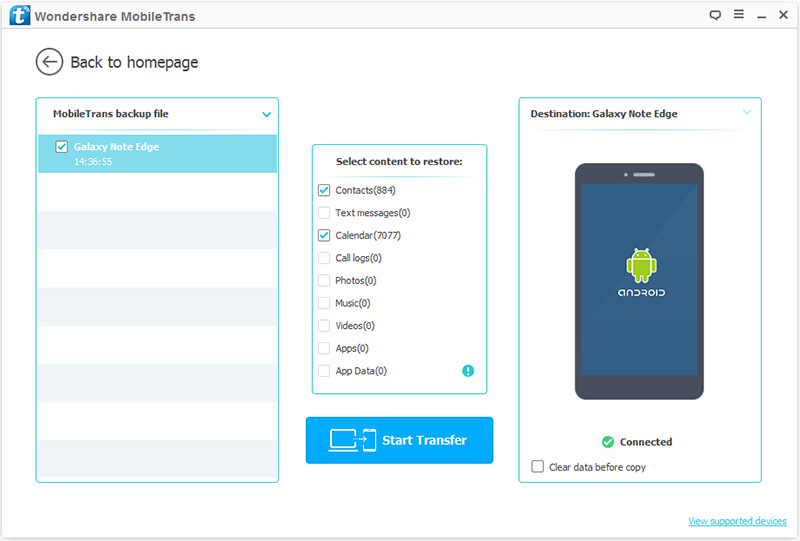
Step 3: After the computer detects your phone, you can select the backup file type as needed and then click “Start Transfer” to backup data to Nokia C12.
These are the two methods of transferring data by Mobile Transfer. In the process of using Nokia C12, if you accidentally delete or lose various files on your phone, don’t worry, even if you empty the Recycle Bin, Android Data Recovery can help you retrieve your data safely and quickly, even if you didn’t backup it in advance.
This article highly recommends users to use Android Data Recovery software to recover data to Nokia C12. As we all know, the function of Android Data Recovery is to help users find lost/deleted files and data, including but not limited to gallery, contacts, phone calls, call logs, etc., and back up the phone data easily. Besides, no matter your data is deleted by mistake, recovered out of production settings, attacked by virus or other reasons, you don’t need to worry, Android Data Recovery can help you recover your needed file data safely. Next, without further ado, please read the following steps of Android Data Recovery carefully.
Without further delay, please click the corresponding button according to your computer system to download this software to your computer. After installation, please follow the steps in Part 3-4 to learn how to use this powerful software.
Step 1: After the installation, run Android Data Recovery and click on the “Android Data Recovery” module.

Step 2: Connect your Nokia C12 to your computer via USB cable, then open the USB debugging mode of your phone and click “OK”.

Note: For USB debugging steps, please check the relevant specific steps by selecting the corresponding brand on the Android Data Recovery software.
Step 3: After successful identification, select the file types you want to scan from the list and then click “Next” to start scanning your device in standard scan mode.

Step 4: Wait for the scan to finish, preview and select the files you need to recover, then click “Recover” to save them to your Nokia C12.

Tip: If you can’t find the files you need to recover, you can click “Deep Scan” to scan your device again to find more lost data.
Step 1: Go back to the main interface of Android Data Recovery software and click on “Android Data Backup & Restore”.
Step 2: Connect Nokia C12 to your computer with a USB cable. Then, two options of “Device Data Restore” and “One-click Restore” will appear on the main interface. Select the “Device Data Restore” button.

Step 3: Now, please select the data you need to backup from the backup list files and click “Start” to extract the relevant files.

Step 4: When all the contents are listed, select the desired files and click on the “Restore to Device” or “Restore to PC” buttons to restore the data.
