Summary: This is an useful article that will shows you three simple ways of how to transfer all data from any Android smartphones and tablets to Samsung Galaxy Note 20 Ultra, as well as export all data from Samsung Galaxy Note 20 Ultra to computer.
Samsung Galaxy Note 20 Ultra has a 6.9-inch display with a 120Hz refresh rate and a resolution of 3088×1440 pixels. In terms of processors, Samsung uses its own Exynos 990 processor. In terms of storage space, Galaxy Note 20 Ultra is equipped with up to 512GB of internal storage. The Samsung Galaxy Note 20 Ultra has a fairly large camera module. Samsung Galaxy Note 20 Ultra houses a 108-megapixel main lens with 50x zoom, a 12-megapixel telephoto lens, a 12-megapixel ultra-wide-angle lens with a laser autofocus sensor, and a 10-megapixel with dual-pixel autofocus Selfie lens. Its battery capacity is 4,500mAh.
Among Android phones, Samsung Galaxy Note 20 Ultra is very good, and its video function is very powerful, and it is also unmatched by other phones. Changing the phone is easy, but the data of the old phone is also very important, so we need a way to transfer the data of the old phone to the Samsung Galaxy Note 20 Ultra. The software market has lots of data transfer softwares, but not all software is perfect. Next, well will tell you three simple and effective ways for data transfer between any two phones.
Mobile Transfer is the most widely used data transfer and data processing software. Everyone will care about whether the Mobile Transfer is safe. There is no need to worry about this problem at all, and its security is very high. This is how everyone knows. Is it troublesome to use? No, it’s simple, it only takes three steps. In addition, it has a wide range of data types that can be transferred, including contacts, call logs, text messages, pictures, audios, videos, memos, WhatsApp messages, etc. What’s more It is compatible, not only can transfer between various Android, but also between IOS, and also between Android and IOS. Therefore, if you encounter any data transmission problems in the future, such as the need to share large amounts of data or change your data. It can be used on six different devices, and there is no upper limit for the same device. In summary, Mobile Transfer is a great software.


Step 1: Select the transfer mode
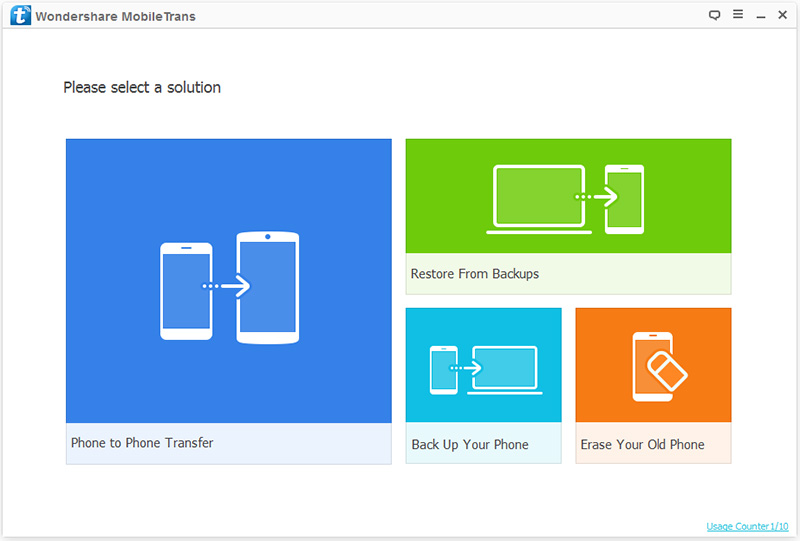
Firstly, download, install and run Mobile Transfer on your computer. Then select the “Phone to Phone Transfer” option, and finally click on “Start” button.
Step 2: Connect your devices to the computer
Now, please connect your Android phone and Samsung Galaxy Note 20 Ultra to your computer with their USB cables. The left side of the main interface shows your Android phone, and the right side is the Samsung Galaxy Note 20 Ultra.

Note: If the order is wrong, in order to ensure that the next steps can be carried out, you need to click the “Flip” button to swap the positions of the two phones.
Step 3: Select the type of data to transfer
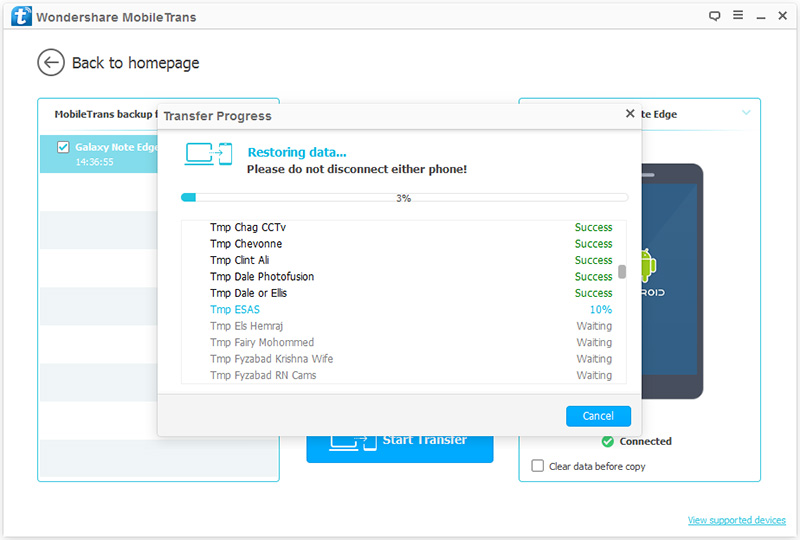
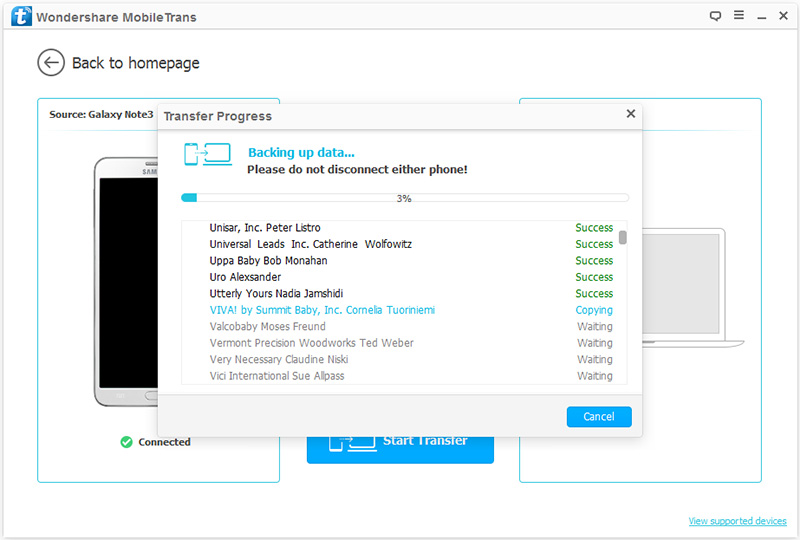
Now, please select the data you need to transfer, and then click “Start Transfer” to transfer the data to your Samsung Galaxy Note 20 Ultra. At this time, you can see the transfer progress bar on the main interface.

Note: Please do not interrupt the connection between the phone and the computer during the transfer. Please be patient, the transmission speed depends on the amount of data.
Step 1: Similarly, launch Mobile Transfer on the computer. Then, click the “Restore from Backups” mode on the main interface, and then select “MobileTrans” or “Kies” among all the projects.
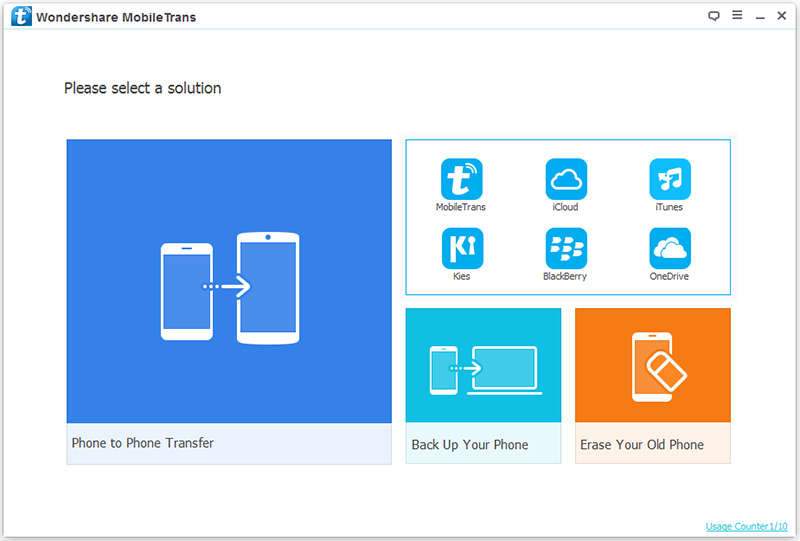
Note: The premise of selecting “MobileTrans” is that you have used this Mobile Transfer software to back up data from your old Android phone. Similarly, if you have a Kies backup file, you can also select it. Of course, the program also supports other backup files, such as Onedrive backup, iCloud backup, etc.
Step 2: Use a USB cable to connect your Samsung Galaxy Note 20 Ultra to your computer, please make sure that you’ve enabled the USB debugging on your phone’s screen.
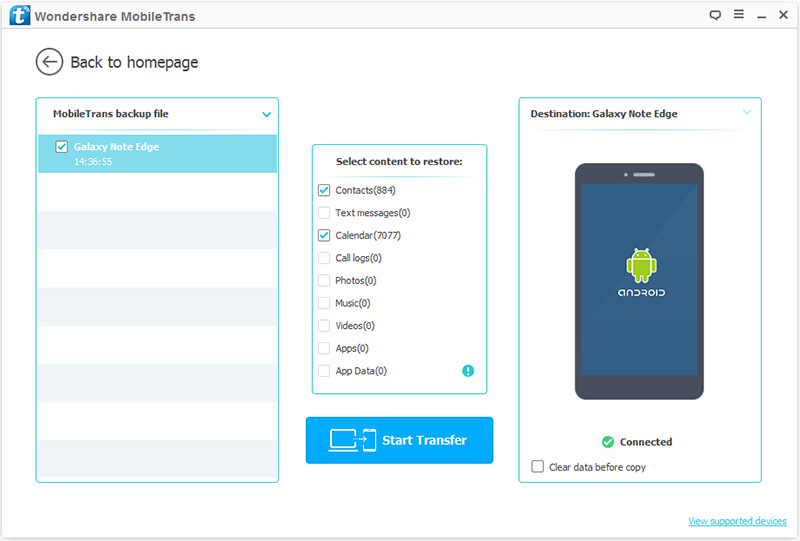
Step 3: Now, tick the backup file to extract all the transferable files inside it, and then click “Start Transfer” to sync the select files to your Samsung Galaxy Note 20 Ultra. At this time, you can see the transfer progress bar on the main interface.
Tips: Both the above two methods, you can check the “Clear Data before Copy” box if you want to erase data on the destination phone before copying the new data.
If you happen to be a loyal Samsung user, or your old phone is a Samsung phone, then this method may also be very suitable for you. Samsung Kies is a useful tool that Samsung users often use to backup and manage data. If you have good backup habits, this method may help you.
Step 1. Connect your Samsung Galaxy Note 20 Ultra to computer and launch Samsung Kies.
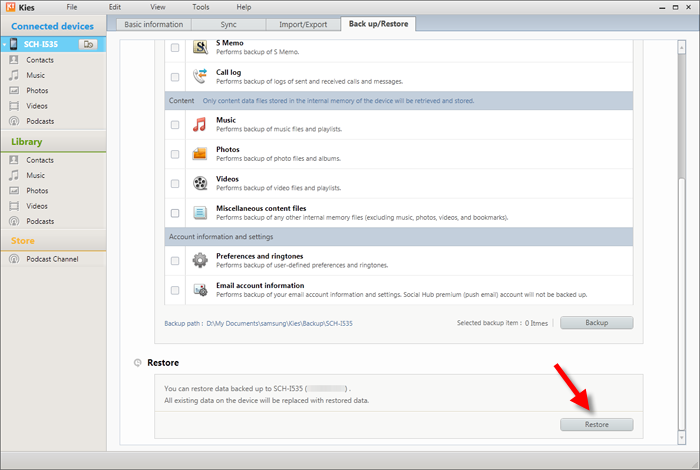
Step 2. Click “Back up/Restore” tab on the top of the menu. Then click “Restore” to go on.
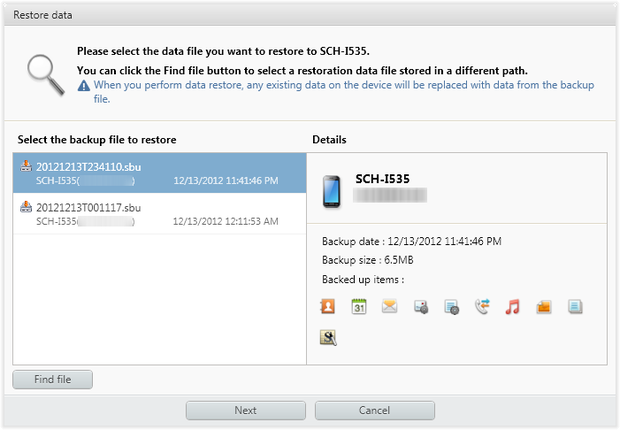
Step 3. Choose the Kies backup file that you’ve created before, then click “Next”.
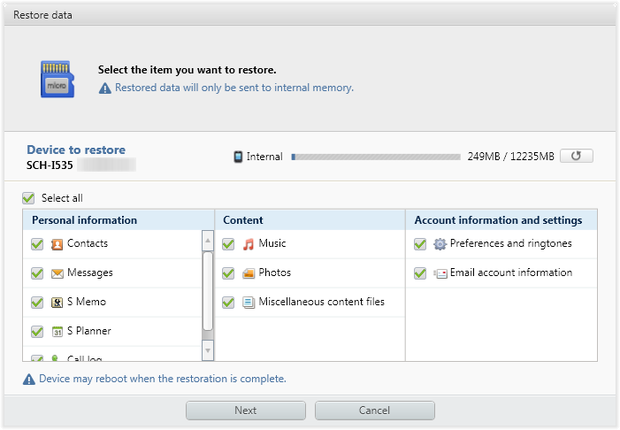
Step 4. Select the types of file that you want to transfer and press “Next”.
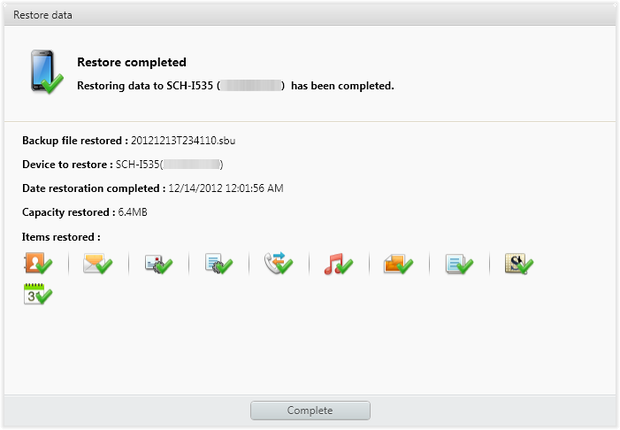
Step 5. Once your device is recognized, you can restore the slected contents to Samsung Galaxy Note 20 Ultra in a click.
Step 1: Return to the primary interface of Mobile Transfer and choose the “Back Up Your Phone” option.
Step 2: Use a USB cable to connect your Samsung Galaxy Note 20 Ultra to computer, once it’s detected, you can see it display on the left panel, and the transferable files on your device will be listed on the middle panel.
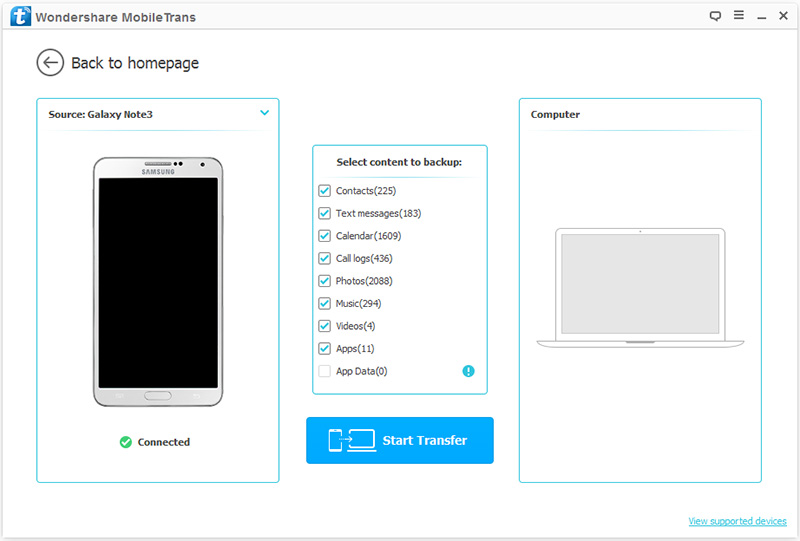
Step 3: Check the files that you needed and click on “Start Transfer” to sync them to your computer.
When the backup process is complete, you can click on the pop-up window or go to the settings to find the backup file. Of cause, if necessary, you also can change the path of your backup file there.