The frequency of screenshots you need on your phone is amazing. Whether it’s capturing social media posts, winning pictures in games, or just an interesting expression package, knowing how to capture screenshots is crucial.
Fortunately, Android phones and tablets provide a variety of ways to use touch screens, side buttons, and even s pen screenshots.
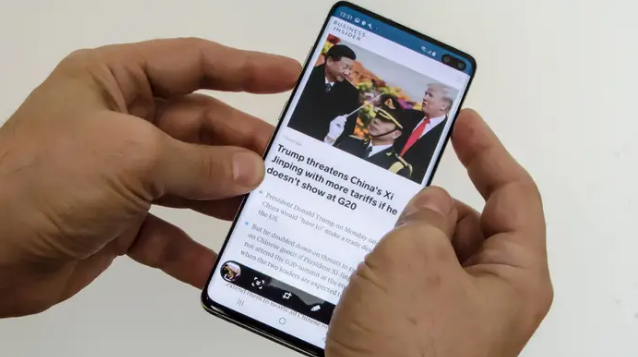
The easiest way to capture screenshots (shared by almost all modern Android phones) is to use the power and volume down buttons.
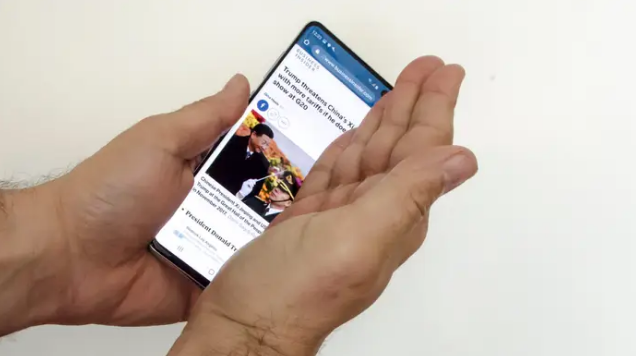
3. The screenshot toolbar will appear at the bottom of the screen for a few seconds. You can use the tools here to edit the image, but if you wait a moment, the screenshot will slide out of the screen and be saved to your photo application.
Android phones are famous for their slightly curved screens. This special screen allows you to perform common operations only with gestures – for example, screenshots.
This feature is called “palm swipe” and should be enabled by default. However, you can check by going to the settings application:
When enabled, you can take screenshots with the palm of your hand.
You will see the screen blink and zoom out, indicating that the screenshot has been successfully captured.
Samsung’s personal assistant Bixby (similar to Apple’s Siri) can also take screenshots on your behalf.
Assuming you have set up Bixby, here is how to use it:
Bixby will take screenshots and save the images in the gallery.
If you only want to capture specific parts of the screen rather than the entire screen, you can use the intelligent selection function. This allows you to crop screenshots before shooting, ensuring that you capture only important content.
To use intelligent selection, you need to enable the edge panel function.
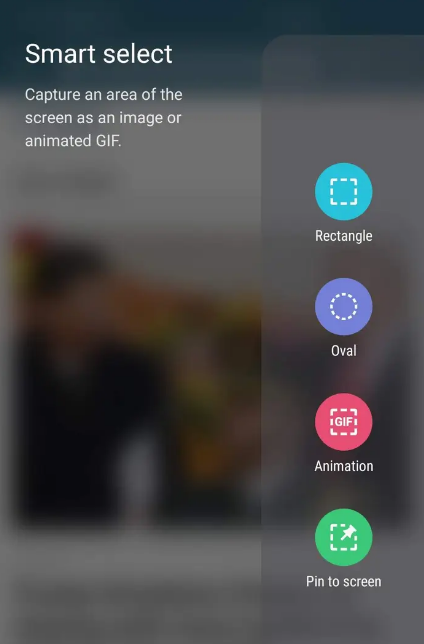
The smart selection panel allows you to capture only a portion of the screen.
If you are using Galaxy note8, you can also take out the s pen to activate the air command function, and then select smart selection from the menu that appears.