Summary: What is the best way to recover Data Photos/Messages/Contacts/videos/call logs/music from Samsung A42? This article will show you the easy and efficient way to recover lost data Photos/Messages from Samsung A42
The Samsung A42 was released in September 2020 and it is the successor to the Galaxy A41 that was released last year. It also becomes Samsung’s first entry-level 5G phone . The new Galaxy A phone features a 6.3-inch Super AMOLED display with Full HD + resolution of 1080×2340 pixels. The phone runs One UI version 2.0 based on Android 10. It is powered by an octa-core MediaTek Helio P65 processor, 4 GB of RAM and 128 GB of memory, expandable up to 512 GB. it includes three rear cameras which include 48 MP sensor, 8 MP sensor and 5 MP sensor. On the front you have the 25MP camera, which is located in the water drop slot. Samsung has installed a 3500 mAh battery in this phone, which can be charged using the USB c-type interface and can also be used for data transfer.

Method 1: Backup and Restore Samsung A42 Photos/Messages with Google Drive
Method 2: Recover Data Photos/Messages from Samsung A42 with Android Data Recovery
Method 3: Videos Guide to Recover Samsung Galaxy A42
Method 4: Rcover lost Data from Backup to Samsung Galaxy A42
Method 5: Recover Lost Data from Samsung A42 with Samsung Account
You can use Google drive to back up Android Samsung Galaxy A42 phone data that contains Samsung Galaxy A42, Samsung Galaxy A40, Samsung Galaxy A51, Samsung Galaxy A50, Samsung Galaxy A71, Samsung Galaxy A70 data. This helps you back up all your photos, videos, music, and document files.
Reference: This method does not back up SMS, contact information (contact information can be synchronized to Gmail account), WhatsApp and other application data files.
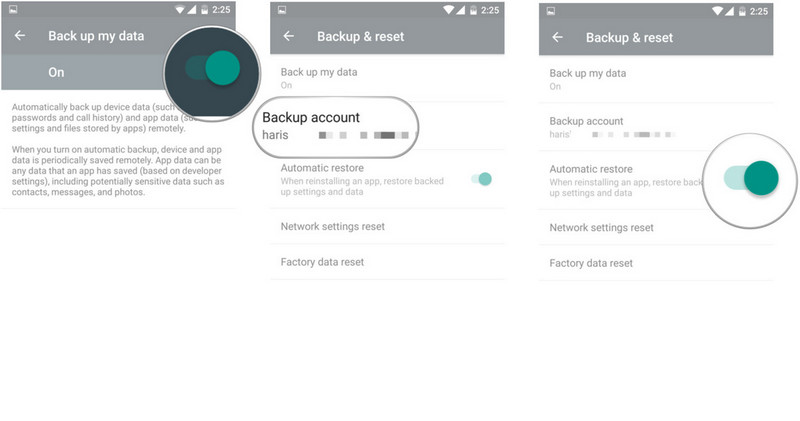
Use Google drive to back up data:
Step 1: Install the Google Drive App on your Samsung Galaxy A42 in the play store.
Step 2: Open the application and log in to your Google account.
Step 3: Select the files back up to the Google drive.
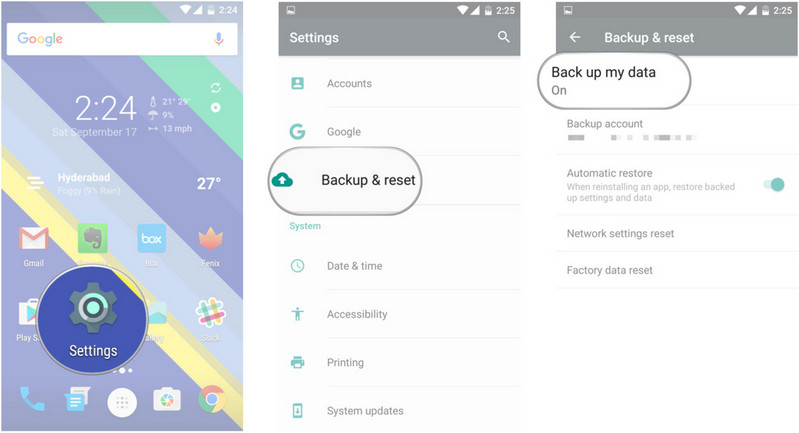
Step 4: When you synchronize your device, all selected files will be saved in our Google drive.
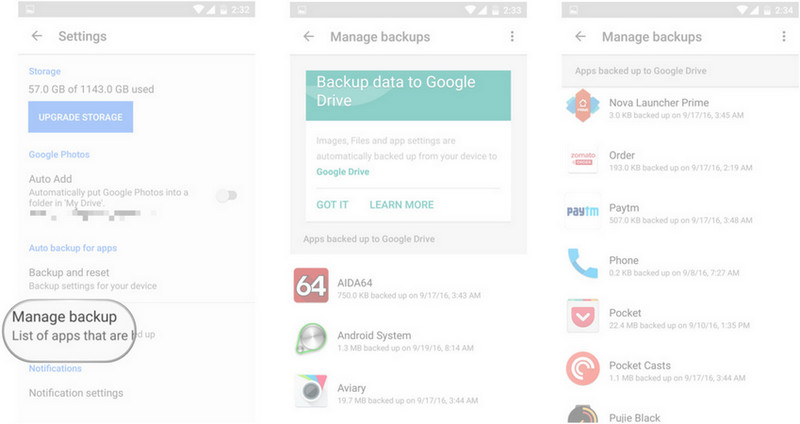
Restore backup data using Google drive:
Step 1: Open our Google drive app on your phone or log in to our Google drive page. Please log in to the same Gmail ID you used in the file backup.
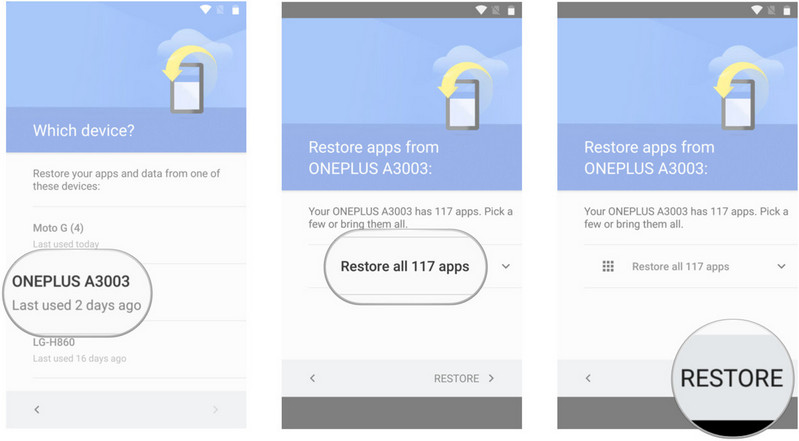
Step 2: After login, the backup photos, videos and documents will be displayed. You can then download the file there. It’s simple.
We often lose all kinds of data on our cell phones, such as photos, videos, text messages, contacts, etc. One common question we all have is how to recover our lost data from our cell phones for various reasons. In fact, with the help of Samsung Data Recovery, recovering lost data from your phone will be a simple matter, no matter your phone is Samsung A42, Samsung A51, Samsung A71 or any other Android phone.
Samsung Data Recovery is an excellent data recovery tool that can be used on various Samsung Galaxy devices such as Samsung Galaxy S, Samsung Galaxy Note, Samsung Galaxy J, Samsung Galaxy A, Samsung Galaxy C, Samsung Galaxy On, Samsung Galaxy Tablet, etc. Besides, it also supports other Android types of phones. You can use it to restore various types of data such as contacts, messages, photos, videos, audio, WhatsApp, call history, etc. You just need to follow the instructions on the software page to complete the data recovery in a few simple steps.
What’s more, it will not change the data and settings in your phone.
You may Like:
Method to Transfer Samsung Data to Samsung Galaxy A42


Step to restore lost Data Photos/Messages from Samsung A42
Step 1: At first, download , install and run the Samsung Data Recovery on your computer.
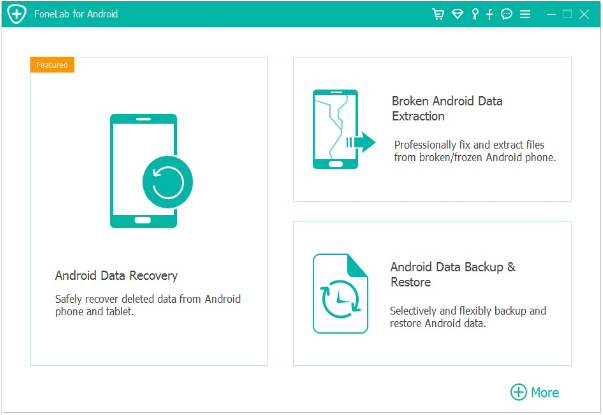
Step 2: Connect your Samsung A42 to your computer via data cable so that Samsung Data Recovery can detect your phone, and after successful connection, follow the page prompts, you should select the “Android Data Recovery” option.

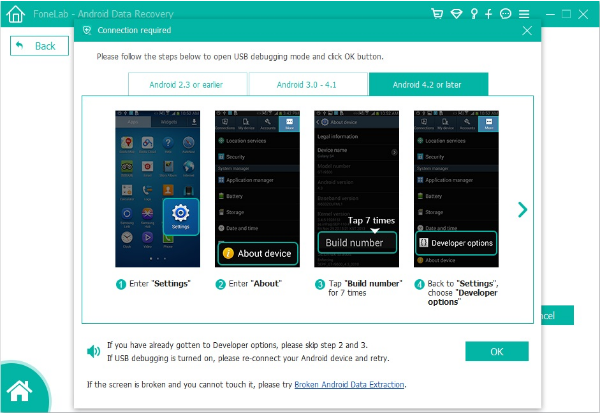
Step 3: To proceed to the next step, You should enabled USB debugging on your Samsung A42.
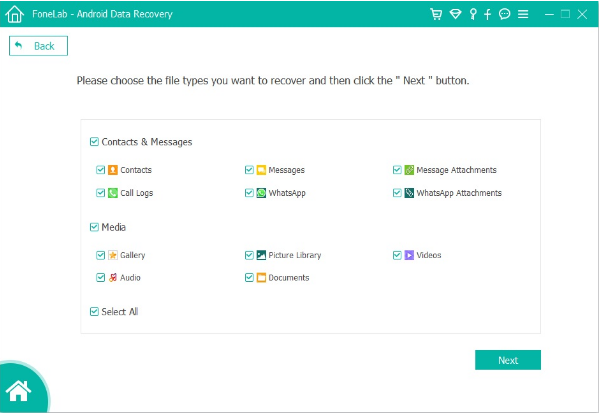
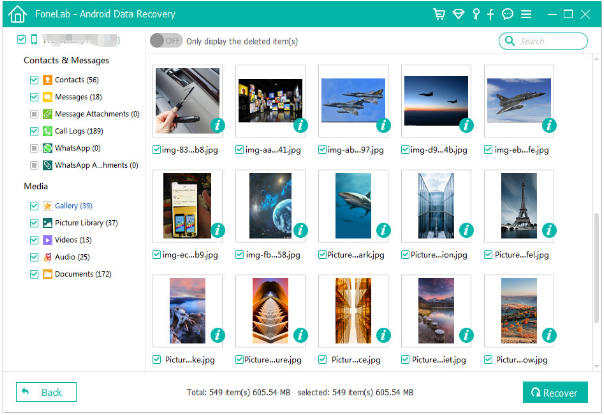
Step 4: All files to be restored are listed here, you need to select the types of file you want to scan. To restore contact, select the “Contacts” information item.
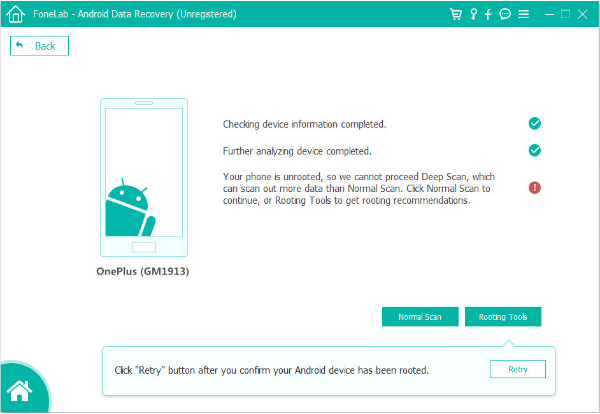
Step 5: Choose a scan mode to scan for your phone. The Standard mode works faster. The Advanced Mode works More accurate. Once you have made your selection, click “Start”. Then wait patiently for a while.
Step 6: When the scan is finished, check the Data Contacts you want and click “Recover” to save them all on your computer.
Step 1: Run the software and click “Android data backup&restore” in the main interface.

Step 2: Now connect the Samsung Galaxy A42 to your computer using a USB cable.
Step 3: Jump to the next screen and the backup or restore dialog box will be displayed “Device Data Restore” or “One-click Restore” is the correct choice. Because both are available, you can choose one of them. Restore the backup file.

Step 4: Select the backup you want in the backup list, and then select the photos you want in the backup. After selection, click “Start” to display all recoverable file types in the selected backup.

Select the data you want, click “restore to device” or “restore to PC”, and save all. Please do not separate the phone from the computer during the whole data recovery process.

Samsung account is a simple process about the recovery method of Samsung deleted files in mobile phone memory.
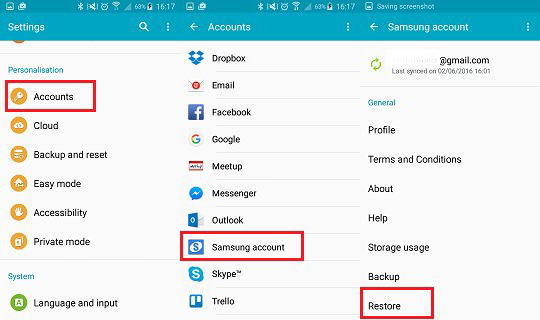
Step 1: On Samsung Galaxy A42 opens “App“.
Step 2: Now move to Settings > Samsung account.
Step 3: Log in to Samsung account and select “restore”.
Step 4: Select the target file and click the “Restore Now” button to recover the lost data to the specified folder object.
Reference: this method is only started when the Samsung account is created and the data is backed up.