Many Android users will try to root their Android phone. There are many reasons and benefits. First of all, after root, we can uninstall some of the system preinstalled software that does not need. In normal circumstances, these software generally can not be uninstalled, and we can easily solve this problem after root and save mobile storage space. Secondly, after root, we can manage our Android phone autonomously and use some software to implement some functions. In addition, we can disable programs that do not need to run in the background, so as to save power for Android phones.
However, root is not a simple thing; many people will root failure and make their Android phones become bricks. So, how do we succeed in root Android phones without being a brick?
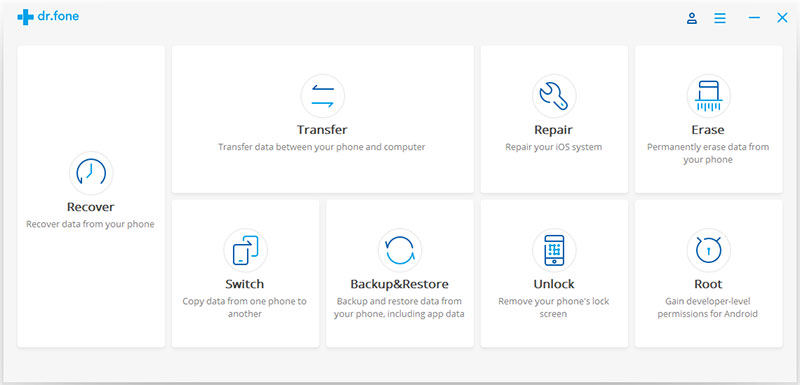
Dr.Fone Toolkit – Android Root is a very handy tool to help you root Android phone. Its success rate is the highest compared with the same type of software. In addition, it can be used for a variety of models of Android phones, such as Samsung, HUAWEI, ZTE, SONY, LG, vivo, etc., more than 7000 Android devices can use it to root. With its help, you can develop potential in your Android phone, such as accessing more programs, access blocked features, uninstalling pre installed applications, deleting ad applications, and so on. What’s more, your Android phone won’t become a brick. It gets a secure root.


First, download and install the dr.fone toolkit for Android on your computer, and after you run it, you’ll see all the functionality of the software. Here we choose “Root” and click it.
Then, use the USB line to connect your Android phone to your computer. After you connect it, you also need to open USB debugging on your phone.
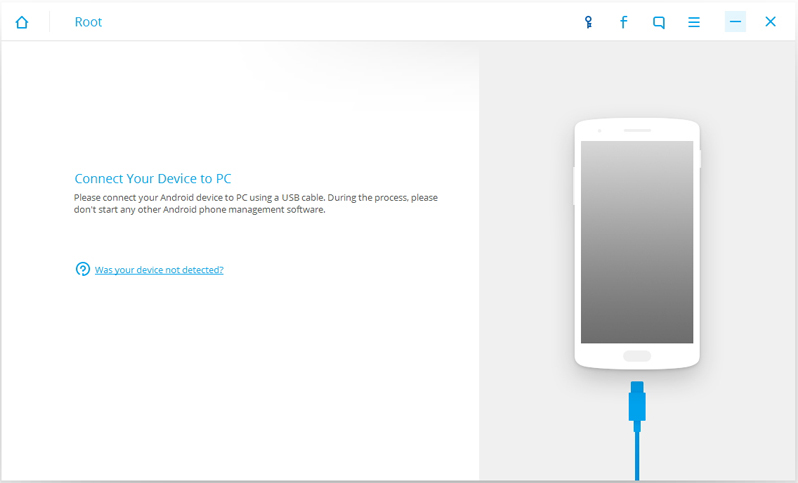
Note: If your Android os version is 4.2.2 or above, you will get a pop-up message on your phone. Please tap on OK to allow USB debugging. Then dr.fone toolkit for Android will automatically recognize and connect your Android phone.
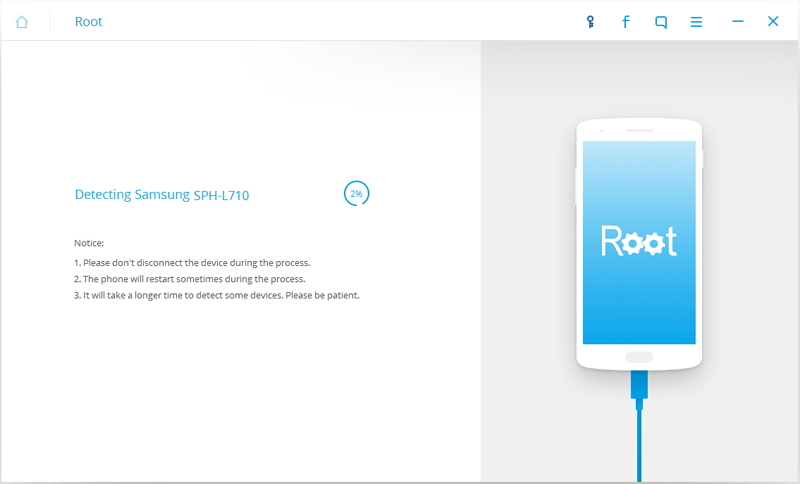
When your Android phone is successfully connected to your computer and recognized by your program, you need to click the “Start” button. The program will start testing your phone and looking for the proper way to root your phone. The process will last for a few minutes.
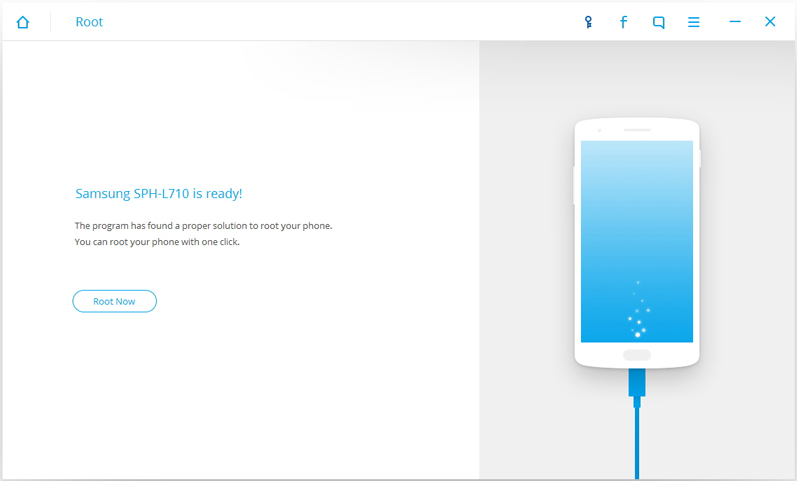
Then, when the program is ready to root your Android phone, you can see a button – “Root Now”. Click on it and wait.
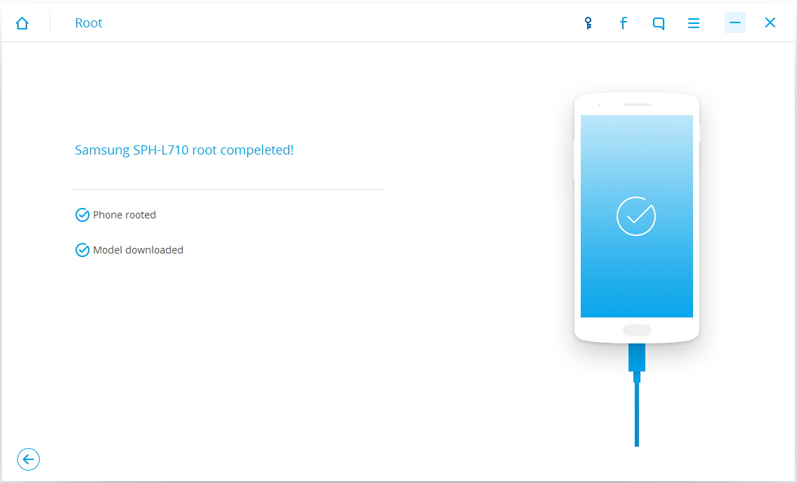
In this process, the program pops up a message to confirm your action. If you are sure to continue root your phone, click “confirm”. Finally, your Android phone will be successfully root. The whole process must be careful not to interrupt the connection between the Android phone and the computer.