iMessage is instant messaging software launched by Apple Corp, not only can send text messages, but also can send video, address book, location information, photos and other services. The most commendable is that iMessage has a high security, allegedly even FBI are difficult to decrypt the information in the iMessage.
However, even if iMessage is very safe, people still want to permanently delete the privacy information in iMessages. There are a lot of iPhone 7 and iPhone 7 Plus users that want to permanently delete all iMessages. So, in response to this demand, I will recommend a good software, that is iOS Private Data Eraser.
iOS Private Data Eraser is not only a safe and convenient software, but also multi-functional. You can use it to permanently delete phone data, such as contacts, messages, photos, music, video, call history, calendar and other data. You can selectively delete them. Program interface style is intuitive, you can quickly find the functionality you need. The software is designed for the iOS system, so almost all iOS devices on the market can use it, including iPhone 7 and iPhone 7 Plus. You can safely use it, because only you can view the data in the phone, the phone data will not be leaked or damaged.


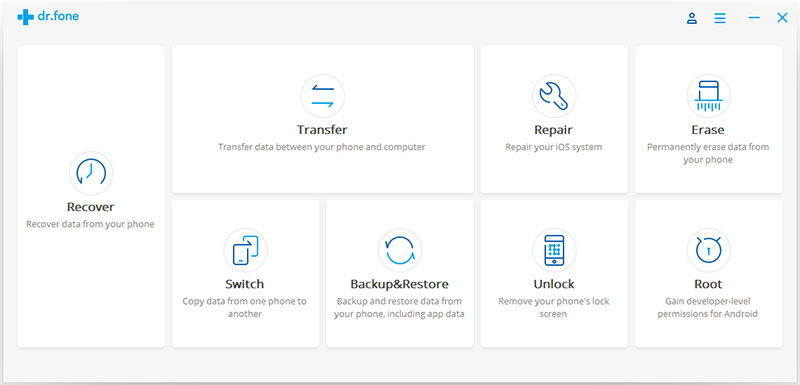
Firstly, download and install the program on your computer. After running it, select and click “Erase” directly from the main interface.
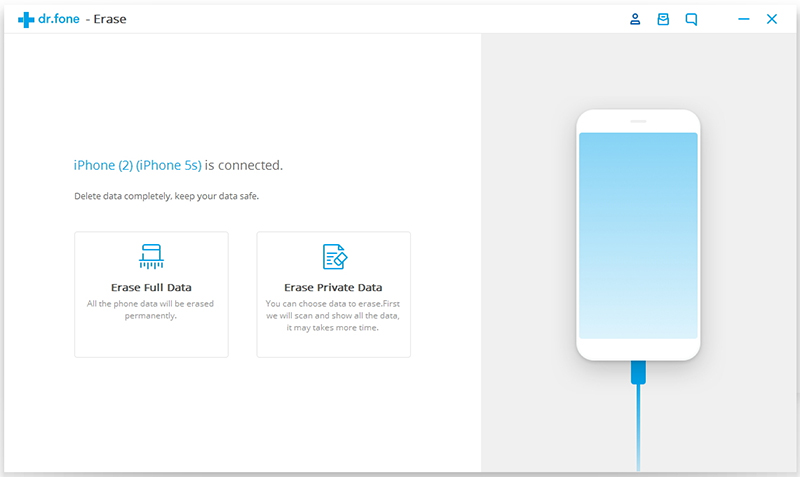
Then, prepare a USB line and use it to connect your iPhone 7/7 Plus to your computer. Once the software recognize your device, it displays two options for you, “Erase Full Data” and “Erase Private Data”. To completely delete the personal data selectively, here please select “Erase Private Data” to start the data erasing process.
When the program recognizes your phone, the interface as shown below.
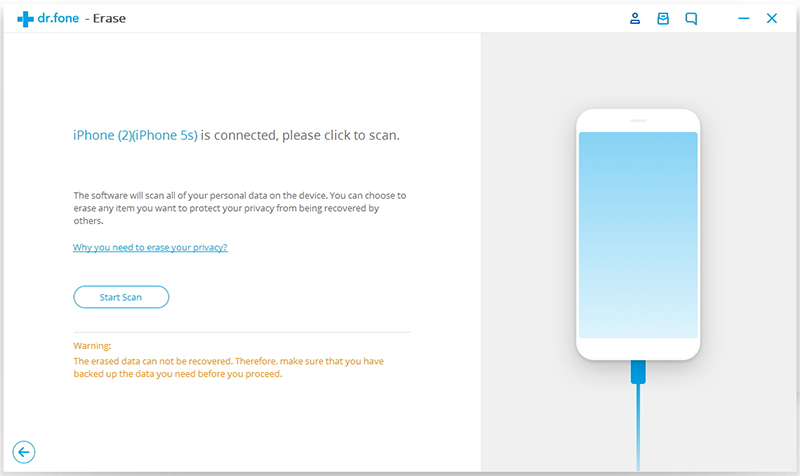
Then, click “Start Scan” to make the program scan your phone. It will take you a little time to scan the data.

When the scan process is over, you can preview the scanned data. Check the files you need to delete according to your needs. Since you need to delete all the iMessages, then you can directly check the “Messages”, and then click “Erase from the Device”.
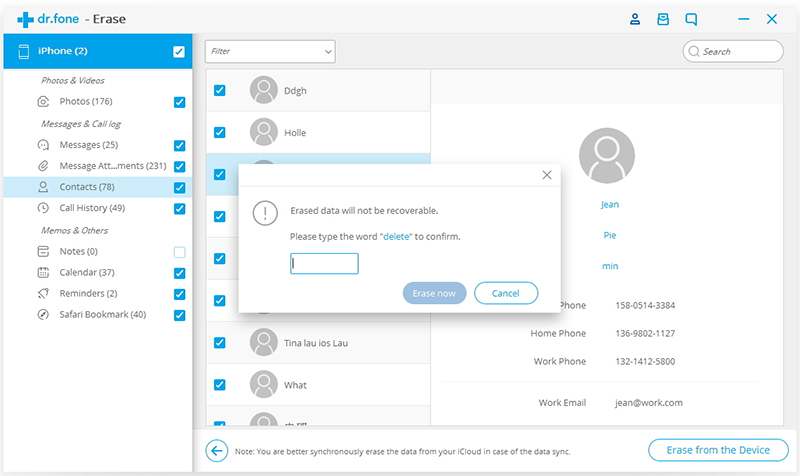
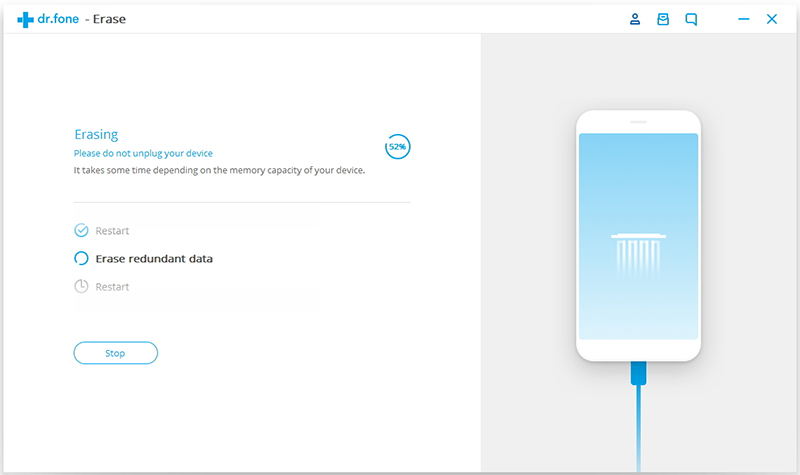
The program will pop up a window before the data is deleted. When you confirm your operation, enter “delete” in the dialog box and click “Erase Now”.
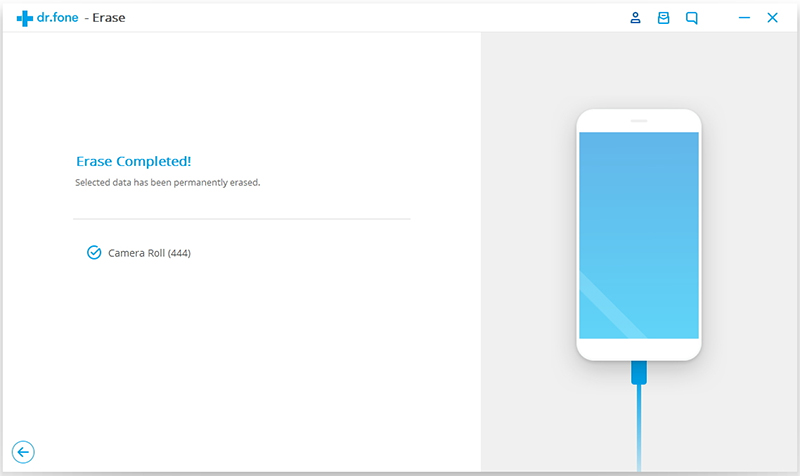
Once the process is complete, you will see an “Erase Completed” message on the window of the program.
If you have other needs, such as backing up data, transferring WhatsApp messages from phone to phone, restoring lost data, repairing your iOS system, you can go back to the main interface by clicking the “Home” icon in the top left corner. And then click on the corresponding function.