Up to now, Android mobile phones have been basically popularized, and the speed of development of the Android mobile phone industry is also accelerating. From the original Nokia to the thin and light Android smartphones, we have to sigh the power of technology. The first mobile phone structure invented is It is very complicated, especially with many parts, which makes the mobile phone bulky. Now the mobile phone has saved a lot of redundant parts, so it is much simpler to disassemble, but different mobile phones have different structures, but they are roughly the same. , If something goes wrong with your phone, what will you do, send it to a repair station? Or do you save money and labor for dozens of minutes? Or you will worry that you will break your phone, but in fact, as long as everyone masters some essentials, Be bold and careful when operating, then in fact, doing some simple disassembly and maintenance for the mobile phone is not as difficult as you think. Next, I will give you a tutorial on how to disassemble an Android phone.
Here are the tools you need to disassemble your Android phone:
First shut down, then remove the Sim slot. Shutdown is to power off the device and avoid short-circuiting during disassembly. Separating the Sim card slot is to prevent the disassembly from continuing because it is stuck between the fuselage and the motherboard during the disassembly process.
Heat Gun or Hair Dryer, suction cup tool, spudger, mobile phone screwdriver and other tools.
Because some Android phones are made of glass, it is easy to destroy the glass back shell without prying. Use the suctioning tool to heat the back shell slowly.
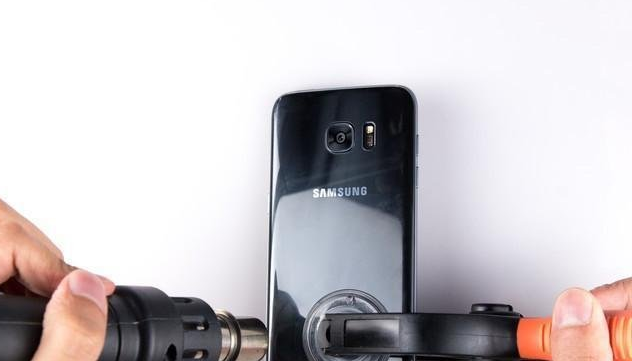
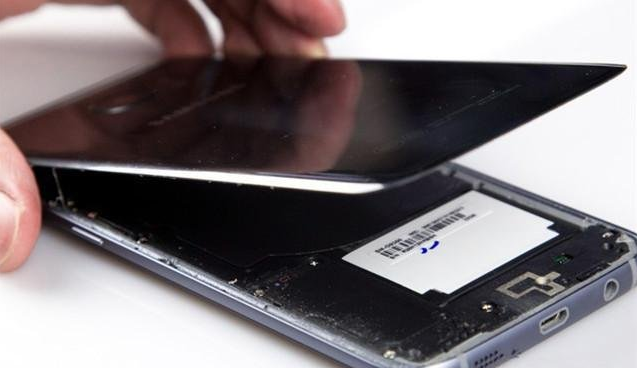
Heat it with a hot air gun for about three minutes, use a suction cup tool to lift the frame of the fuselage to open a gap, be careful not to use too much force.
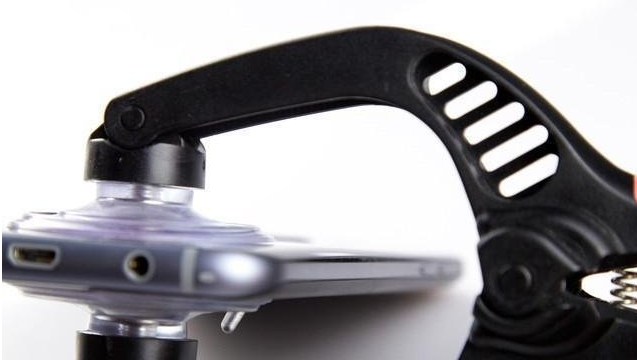
The adhesive inside the case is very sticky, and it is not easy to remove it with a suction cup tool, so you still need the help of a spudger.
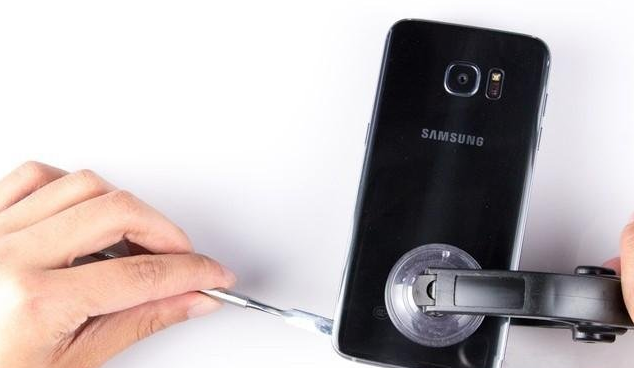
Due to the small amount of glue on both sides of the fuselage, it is easier to degumming as long as the temperature of the hot air gun is sufficient, and the bottom of the back shell has been opened.
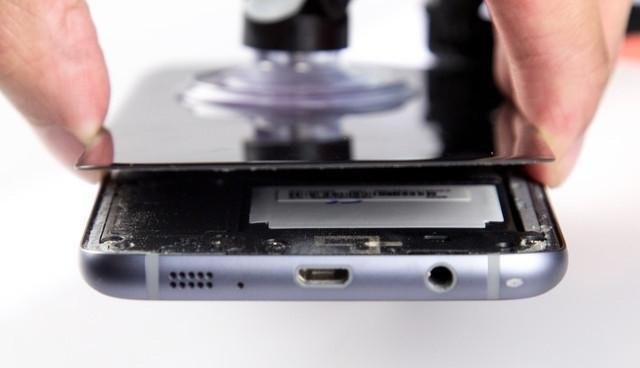
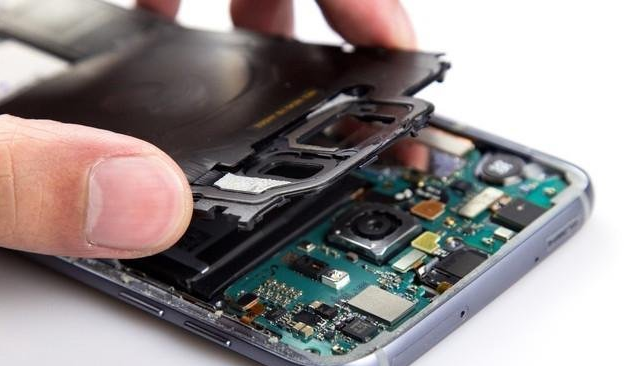
Slowly separated, the internal components under the back shell are revealed.
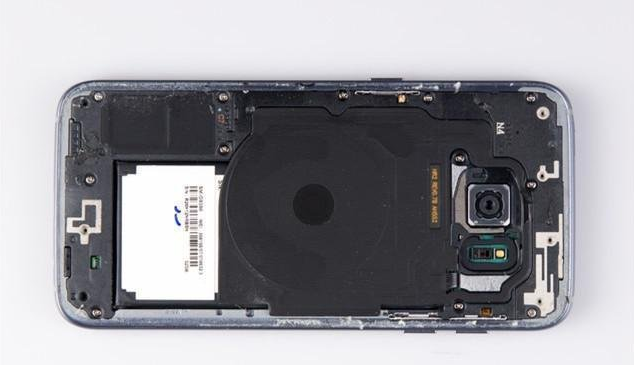
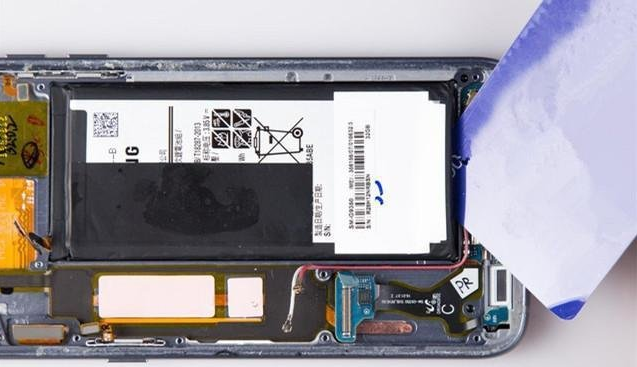
The back cover was successfully separated. The interior design of the back of the fuselage is very similar to that of Note 5. The black patch in the middle is the wireless charging & NFC coil, and the surrounding cover is used to fix the internal electronic components.
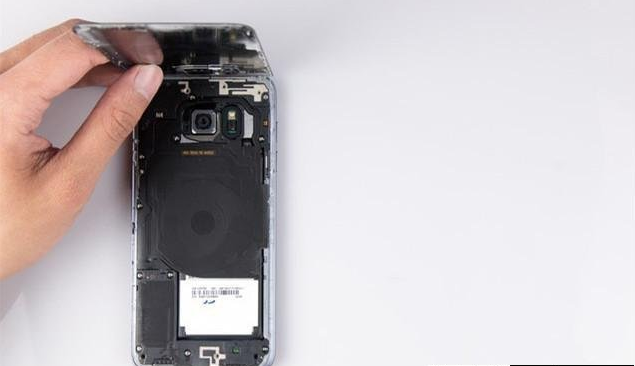
The interior of the body is black as a whole, and the internal sealing is average. If the double-sided tape on the back shell is not properly sealed, water enters the interior of the body and the machine may be damaged.
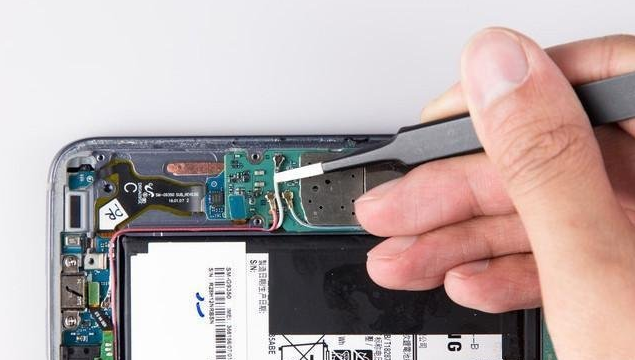
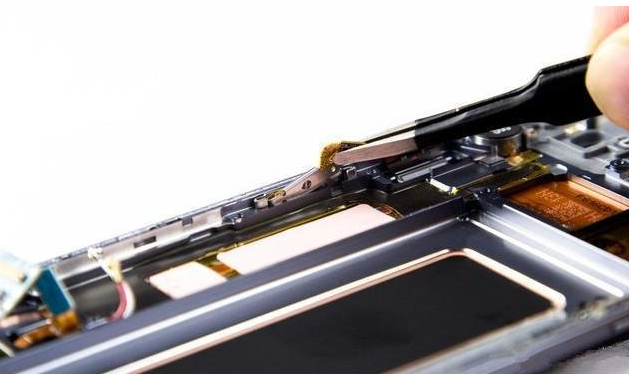
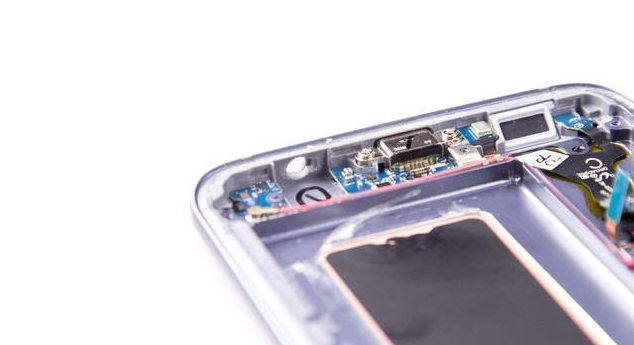
Next, remove the screws from the top antenna plastic cage.

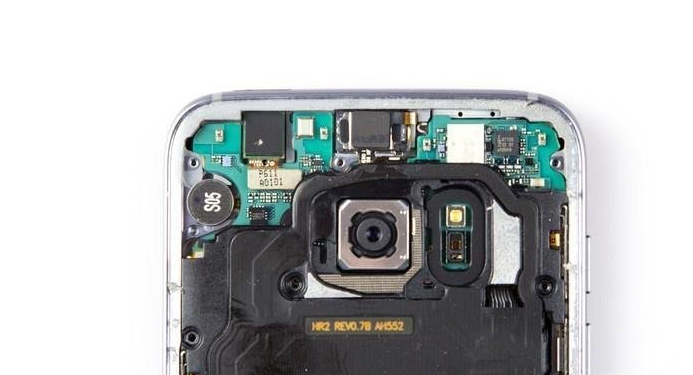
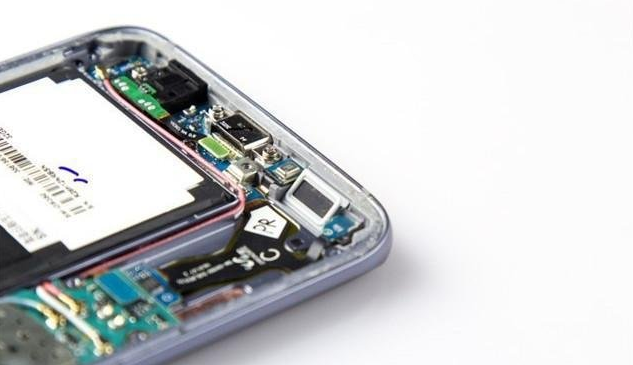
Use a spudger to lift off the top antenna cage and you can see that the color of the top PCB is green.
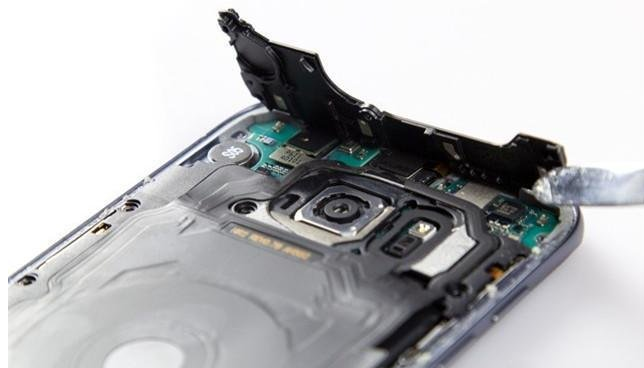
The top earpiece, front-facing camera, and various sensors are all connected to this PCB.
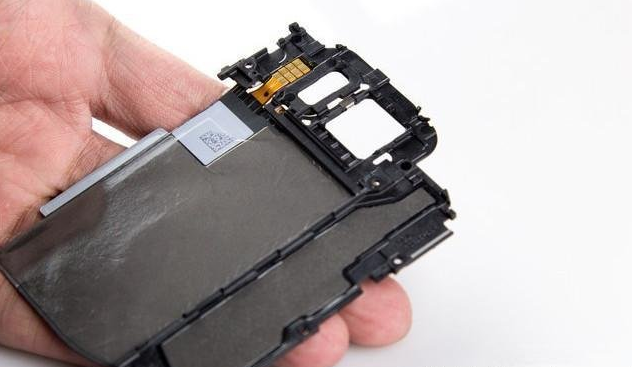
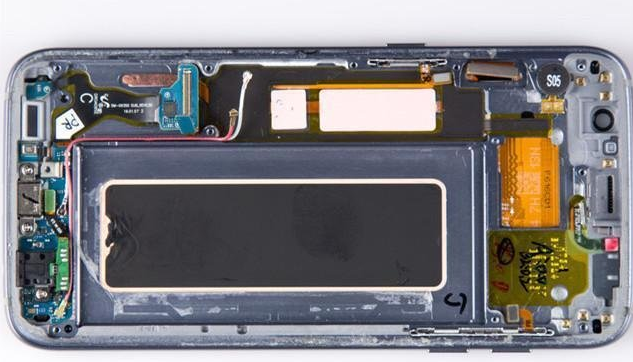
Then remove the middle fixing frame, this frame is glued with the wireless charging coil, and the coil is connected to the PCB through contacts, so we can easily take it out together with the middle fixing frame.
Remove the back of the middle frame, you can see the gray-black graphite heat dissipation sticker, which not only dissipates heat for the battery and wireless coil, but also dissipates heat for the motherboard
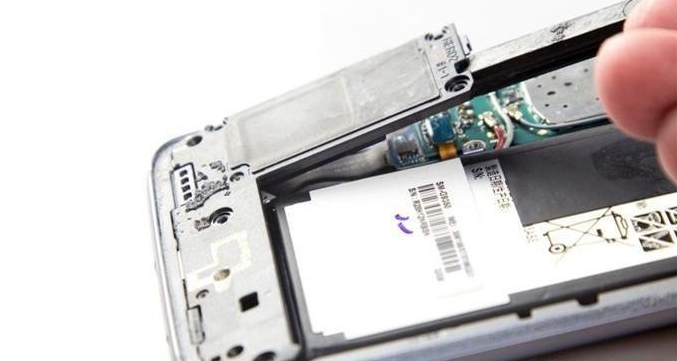
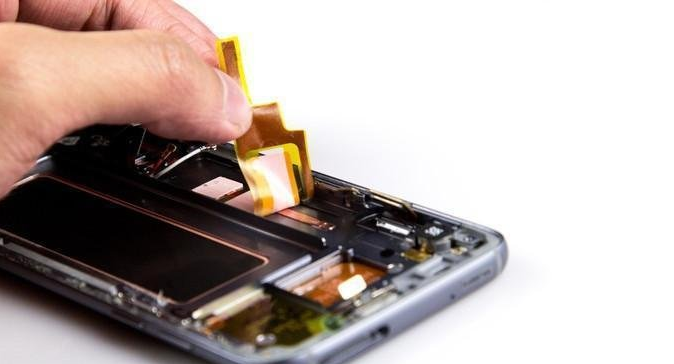
Disconnect the btb power cable from the motherboard battery.

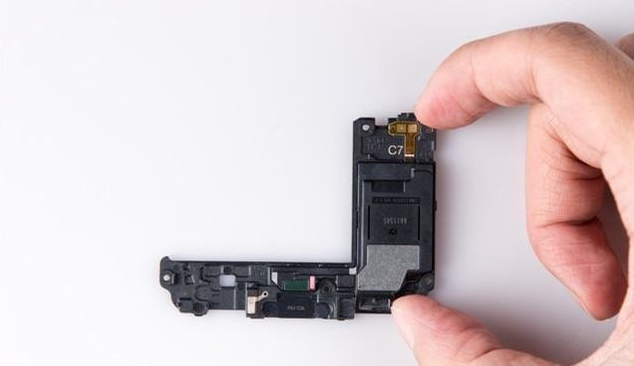
Remove the screws on the bottom frame and detach it. The speakers are integrated on this frame and are also connected to the motherboard through contacts.
The front of the bottom sound cavity box bracket after removing.
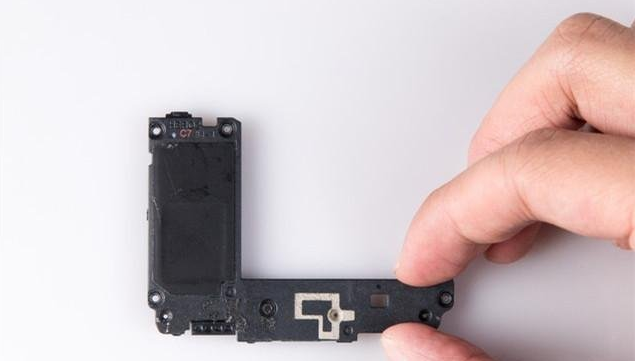
The reverse side of the bottom sound cavity box bracket after removal.
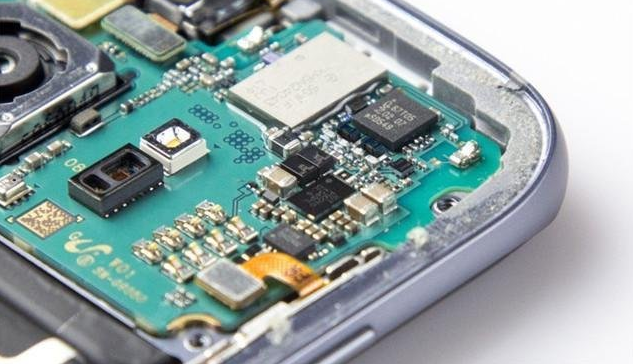
The dense circuit area of the motherboard is not all sealed, only some important chips are treated with glue, and the power supply, buttons and other cables are also weak points of waterproofing. Therefore, it is recommended not to disassemble and repair by yourself if the machine does not malfunction.
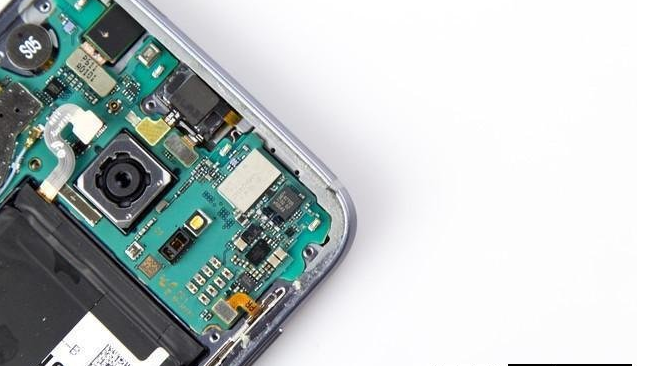
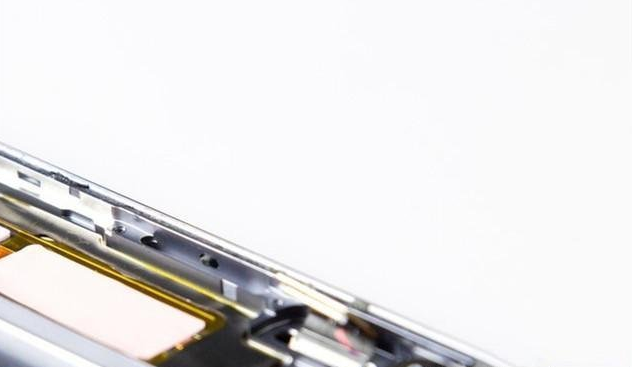
It can be seen that the corners of the machine are reinforced, the outer metal is made of thicker injection molding, so as to ensure strong rigidity, and the ductility of the plastic can play a certain role in cushioning. The bump design is perfect.
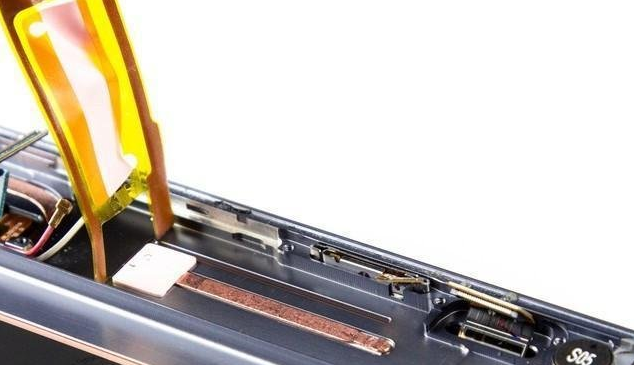
In the sound hole of the speaker at the bottom of the fuselage, we see the sealing material. This material is widely used in Gore-tex materials in the field of jackets. It can prevent water vapor from entering, but can allow air to circulate, so that it has a waterproof effect without affecting the sound.
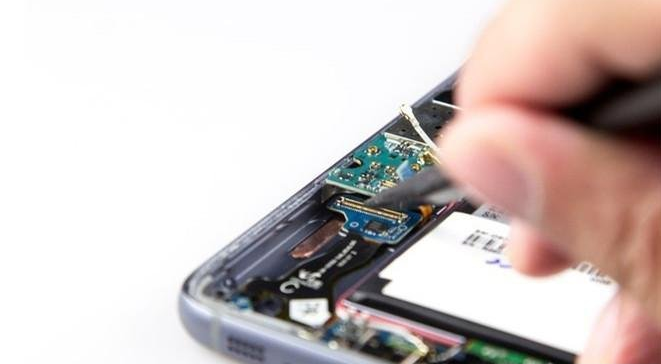
Use tweezers to separate the RF coaxial cable from the motherboard.
Disconnect the btb with an insulating spudger.

Disconnect the button btb with an insulating spudger.

Disconnect the screen btb with an insulating spudger.

Disconnect the proactive btb with an insulating spudger.
Separate front 500W camera.
The sensor on the top and the earpiece are also connected to the motherboard through snaps, and the light-sensitive btb of the earpiece is disconnected with an insulating spudger.
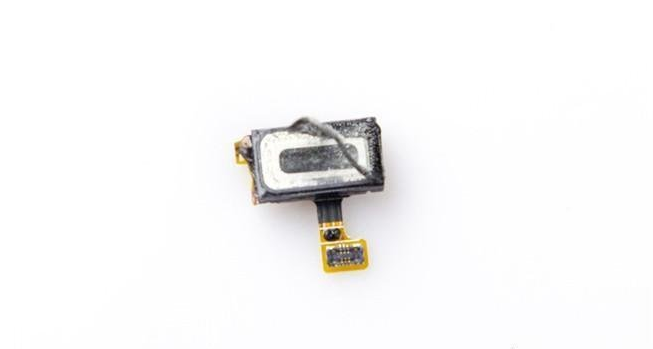
The front of the handset is fixed to the body with double-sided tape. The double-sided tape is not only fixed, but also has a good waterproof effect.
Front of the removed handset
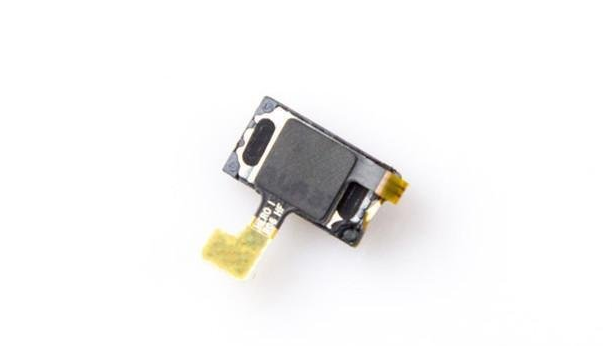
The back of the removed handset
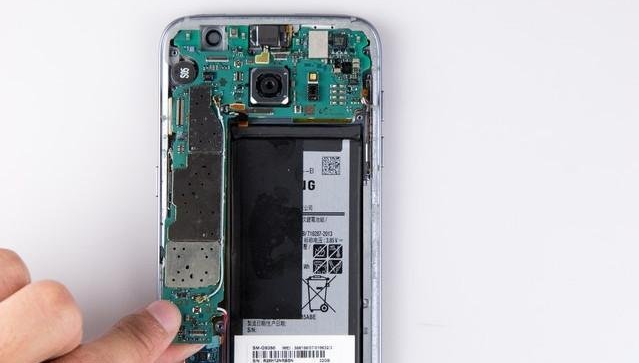
Use a spudger to help lift out the motherboard. When you open it, you can see that there is a btb cable connected to the motherboard on the back of the bottom of the motherboard. After separation, we can remove the motherboard.
Remove the motherboard by hand.
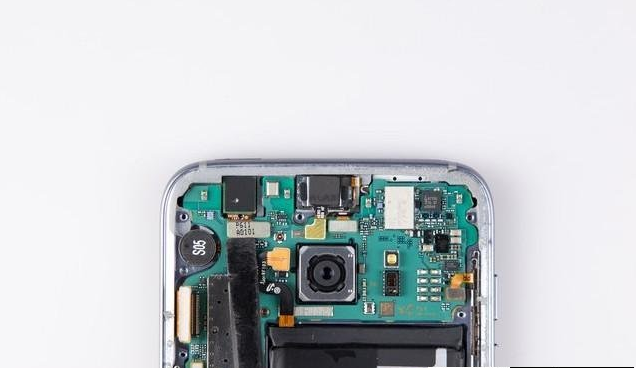
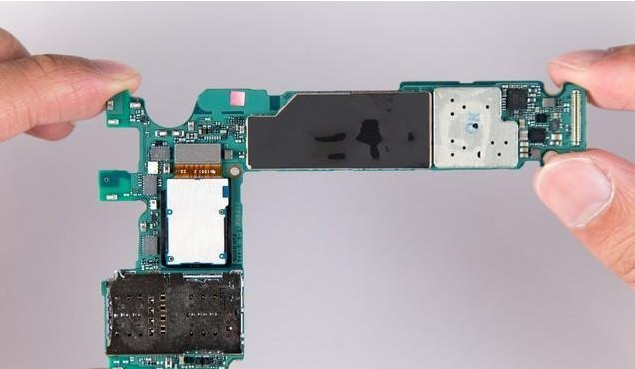
The motherboard color is blue-green, and the front of the motherboard is removed.
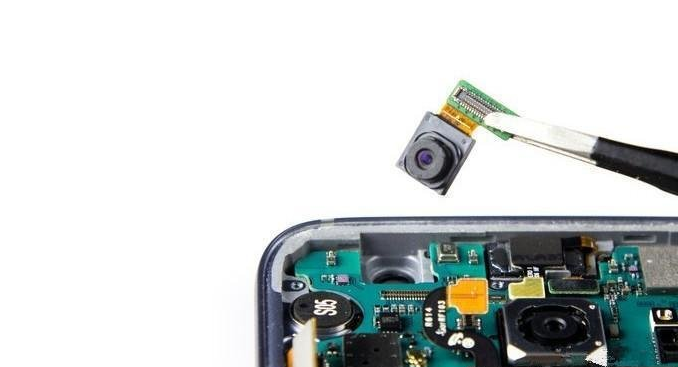
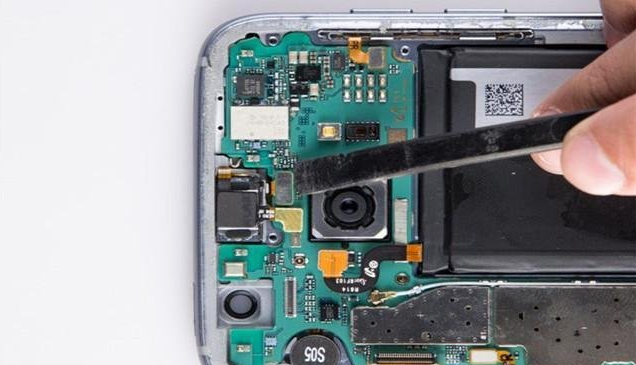
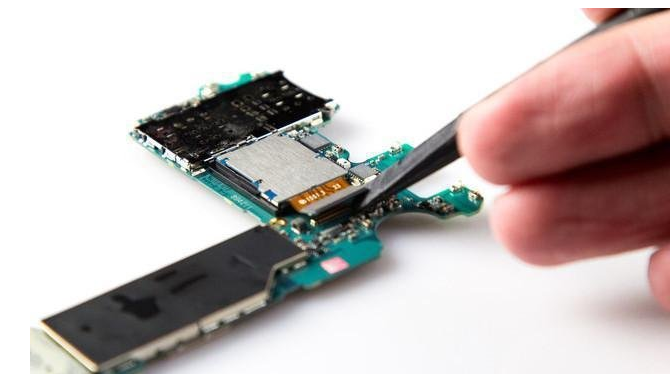
Disconnect and take out the camera on the motherboard
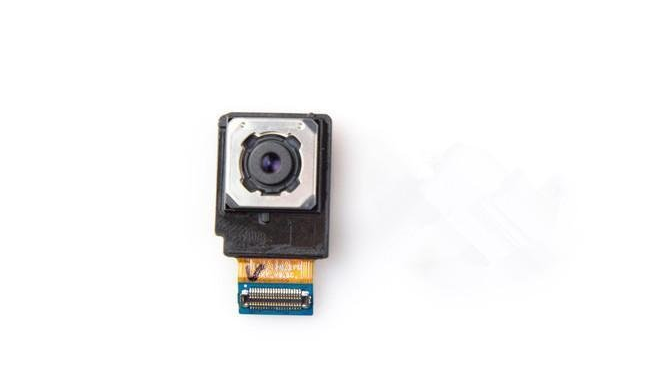
Removed rear camera
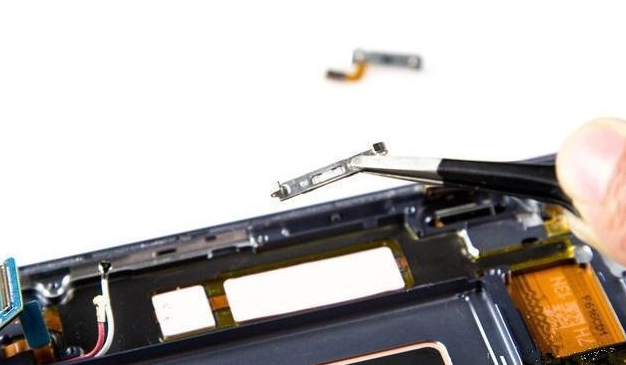
Remove the keys with tweezers
The removed power button, the button adopts a three-layer layout, the lowest layer is the button soft circuit, and the dome is welded on it.
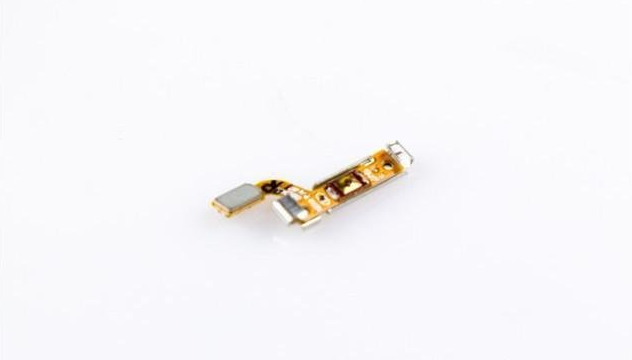
In the second layer, a rigid fixing sheet is used to fix the soft rubber in the middle, so that the sealing effect can be achieved.
The buttons on the third layer, although the external physical area is relatively large, but inside the fuselage, there is only one transmission rod, which can ensure a small opening, which not only improves the sealing performance, but also increases the structural strength.
Detach the battery and use a hard card and a wind wall to assist in disassembly.
In order to improve heat dissipation, the Android phone even designed copper conduits and water cooling, and they are located under the thermal conductive silicone in the main board area of the fuselage.
Open the thermal silica gel, you can see the copper conduit.
The principle of heat dissipation is that the chip on the motherboard first transfers the heat to the thermal conductive silicone grease, the silicone grease transfers the heat to the copper conduit, and the copper conduit quickly disperses the heat and transfers it to the metal frame below, so as to achieve the purpose of dispersing heat and accelerating heat dissipation. . It is said that there is less than 1g of water in the copper conduit, which is the legendary water cooling.
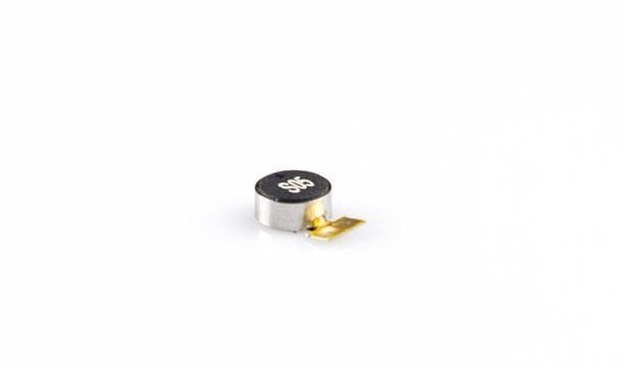
The vibrator is connected with the main board by means of contacts.

The vibrator after taking out
Next separate the headphone jack at the bottom.
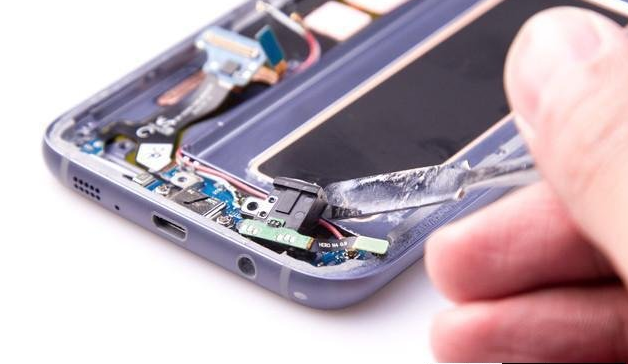
Use a spudger to remove the 3.5mm headphone holder.
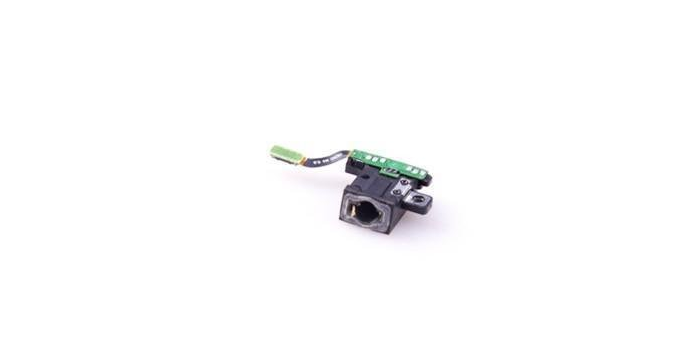
The surface of the headphone jack is designed with a rubber gasket, apparently to increase the seal. The data interface part also adopts this design.
General diagram of the components after dismantling the Android phone:
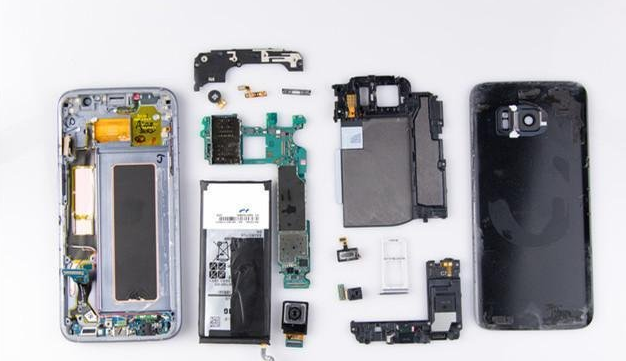
This way a mobile phone can be disassembled, we can clearly see the various parts and parts of the mobile phone, if any part needs repair, we can easily repair it, but be sure not to lose or damage any part of it, because it Every part is important. In addition, the method of reassembling the mobile phone is similar to the dismantling method. You only need to install it back one by one according to the dismantling method. But we must pay attention to the process of dismantling or assembling the mobile phone, and the method must be light. Now the parts of mobile phones are very thin, so everyone must be careful!