Today, when I was using the phone’s file management function, I accidentally deleted all the photos and video files. I need to get them back. But I can’t find a similar function in a Mobile Butler. My cell phone application – Mobile Butler, it can only help me remove the redundant files, clean up the phone memory; it does not restore deleted files. Can I get them back by other software? There are many photos and videos which are very valuable; I do not want to delete them. My mobile phone is LG G5.
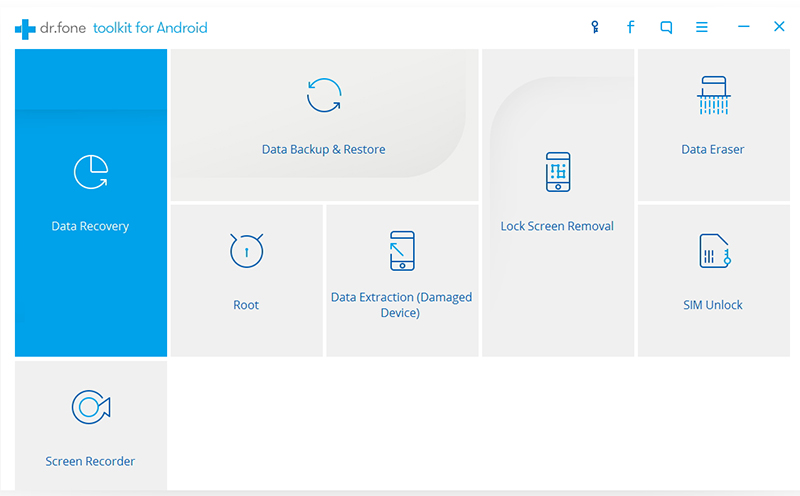
A practical computer software – LG Data Recovery (Android Data Recovery), it will be able to help you solve this problem. It is known as the world’s first Android recovery software. It is a software that can be applied to more than 6000 mobile phone models. It can recover the data type is also very diverse. In addition, it is able to face a variety of data recovery problems, whether you are miss data due to the update of the operation of the system or after Routing or ROM flashing, it can help you recover the lost files.
There is no problem for LG Data Recovery if you want to recover accidentally deleted photos and video, next, we will show you the steps to get back your deleted and lost LG photos, videos.


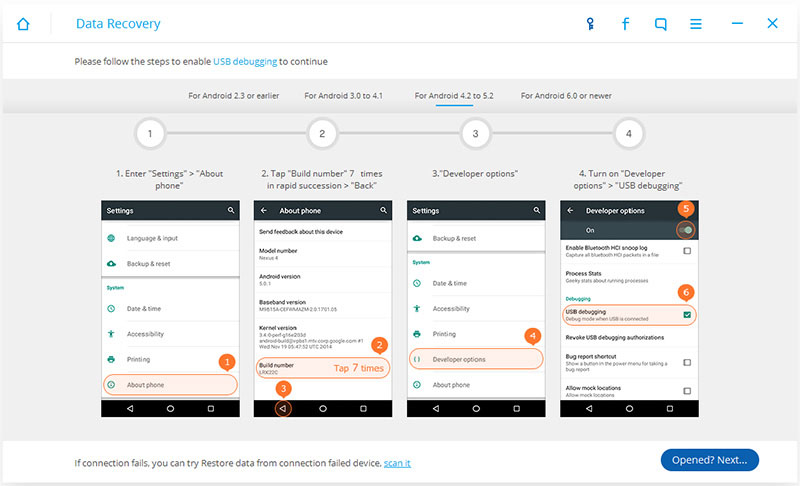
Please download LG Data Recovery in advance on your computer, and then run it. At the same time, connect your LG phone to the computer with the USB line.
To make sure that the program can detect your LG phone, please ensure your phone has enables the USB debugging.
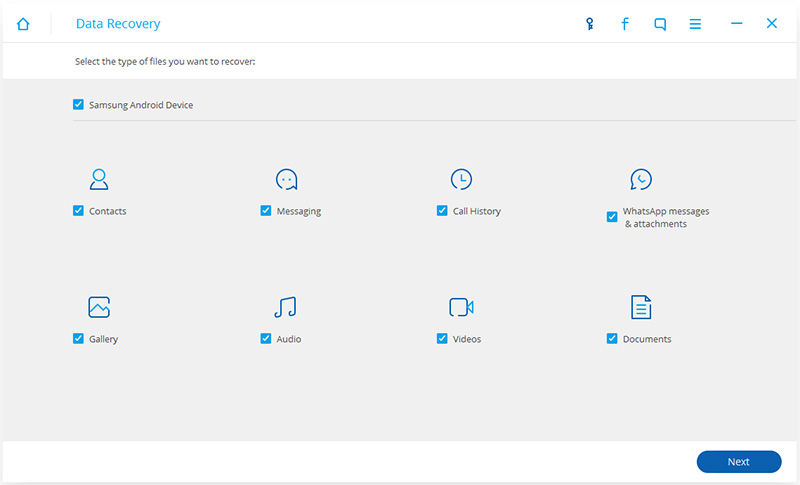
When you open the USB debugging, the program will enter the next interface, this time you need to select the files you want to browse, check the video and photos. Then, click on the lower right corner of the “Next”.
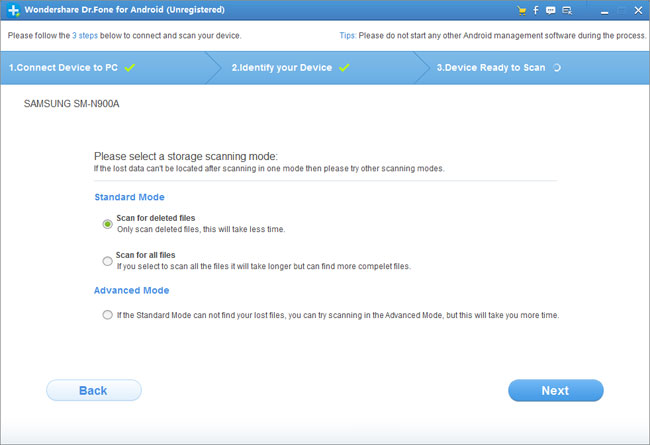
As shown below, the program will provide two modes for you to choose, one is the standard mode, the two is the advanced mode. Please choose according to your needs, and my proposal is the standard model, because the model is faster. Then, click on “Start”. The program begins to analyze and scan your phone.
Note: There might be a Superuser authorization appearing on your device during the scan. If you get it, click “Allow” to confirm it. If not, just forget it.
When the scan is complete, you can preview the found data one by one. Check the Photos and Videos you wanted, and click “Recover” to save them all back to your computer.
