“This morning, my iPhone 5S received a messages pushed by Apple, which is about upgrading iOS to iOS 9.2. As I know, the latest iOS .2 fixes the multiple bugs of system, and greatly improve the performance and stability of the system, so personally speaking, I am very willing to update my iPhone 5S to iOS 9.2. However, since I found that tons of my meida files and some apps have which have occupied most of the 16G iPhone 5S’s memory, in another words, I have no space to upgrade for my iPhone. All the contents storing on my iPhone are very important, I don’t want to remove them from my phone, is there any other ways that can help freeing up my iPhone’s storage, so that I can update my iOS? Please share me your idea if you can help, thanks a lot!” – Asked by Youzune from Apple Forum.
“In order to better match my iWatch, I have to upgrade my iPad mini 2 to the latest iOS 9.2, so I do it. However, I have failed because of my iPad out of memory. Though I have switched some photos and videos to my computer, and uninstall many applications, but still can not free up more space from my iPad, how can I do to release more memory on my iPad?” – Asked by Jisson.
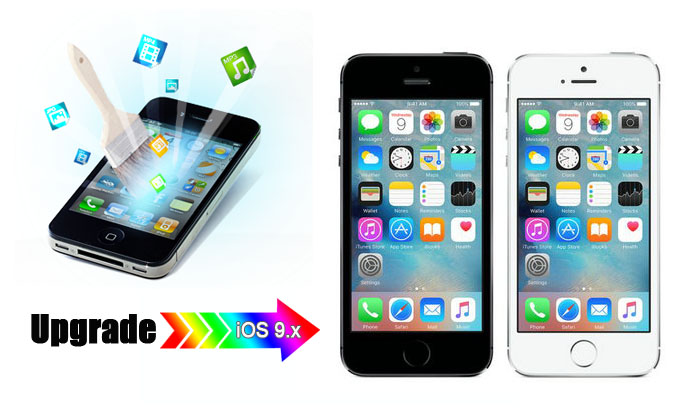
Even if the storage space of the new generation of iPhone and iPad has expanded continuously, just like the iPhone 6S Plus and iPad Pro, besides, the further system optimization making the latest iOS becoming smaller and smaller. However, in spite of this, just like the above cases, still have lots of iDevices out of memory. How to free up more space from iPhone iPad before iOS upgrade has became a permanent topic of Apple users. So, during the new iOS 9.2 system launch, in this article we will tell you seven ways to free up your iPhone or iPad’s space before iOS upgrade.
Before we start, it’s necessary to introduce a powerful and secure iOS data cleaning tool, iOS Data Wiper. With the help of iOS Data Wiper, you can one click to optimize your iPhone’s OS, as well as iPad and iPod touch. Surely, it enables you to release lots of your iDevice’s storage, what’s more, you can easily erase the selected and all data from your iPhone iPad and iPod touch permanently without restored. Highest priority, free download a trial Windows or Mac version below, and follow our guide to have a try now.


1. After download, installation, launch iOS Data Wiper on your computer.
2. Connect your iPhone or iPad to your computer via USB cable.
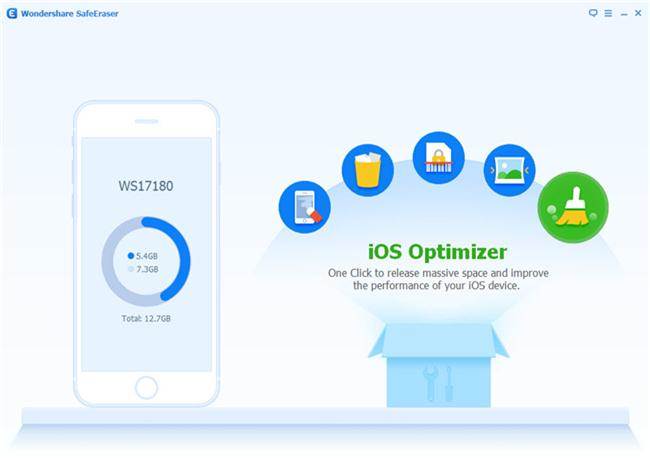
3. Once your iPhone iPad is recognized, the primary interface will pop up as below:

Click “iOS Oprimizer” on the homepage.
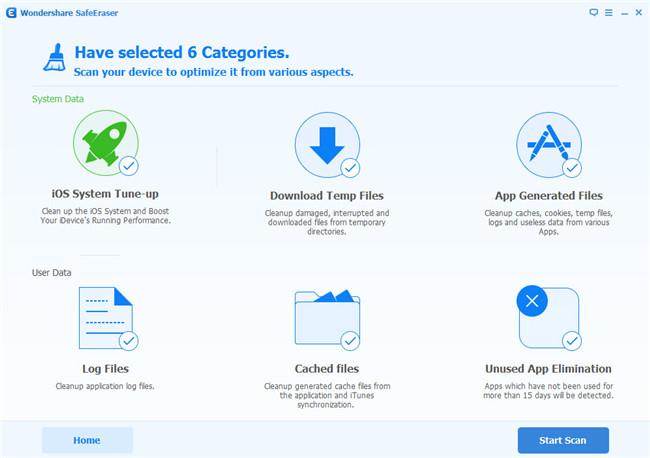
On the next screen, you can see 6 categories previding by the program to optimize your iOS device, select the item(s) as you like and click “Start Scan” to let the program analyze and scan your device.
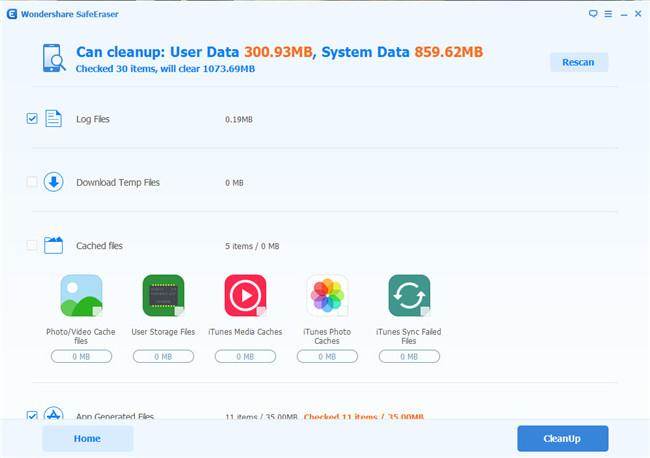
After a while, when the scanning is complete, the program will show your the total amount of junk files on your iDevice, just click on “CleanUp” button to free up your iOS device’s space.

Click “Space Saver” on the homepage. Then you will see the window pop up as below:

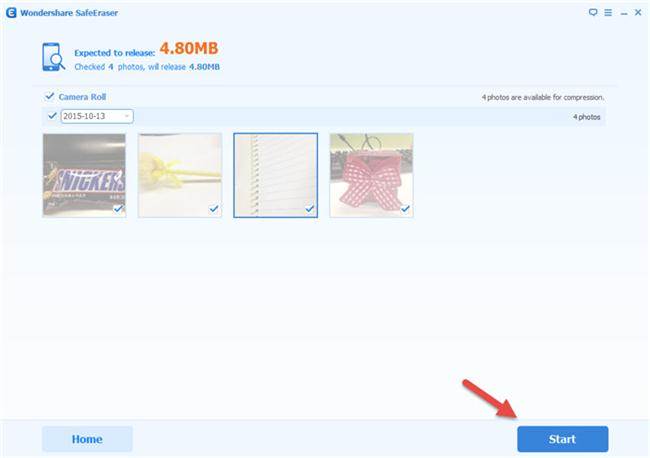
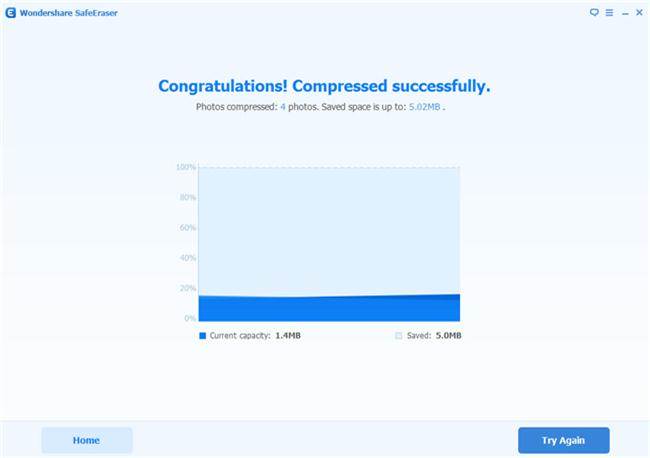
As you can see, there are two options you can choose: “Compress” and “Export”. We first introduce the first, please press “Compress” to let the program scan your device.
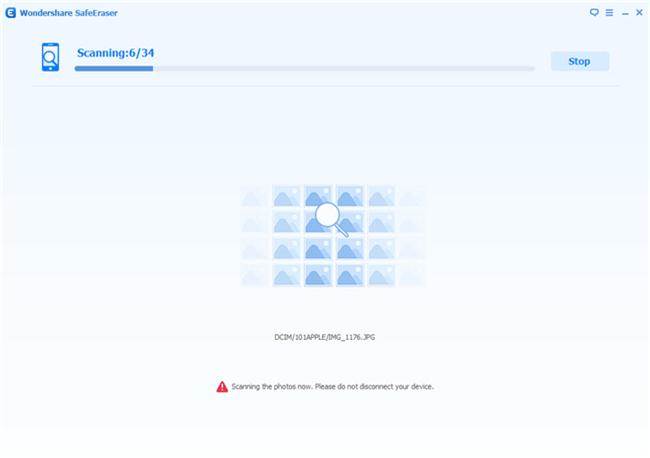
After scanning, click “Start” in the scan result window to let software compress all the selected photos on your iPhone/iPad.
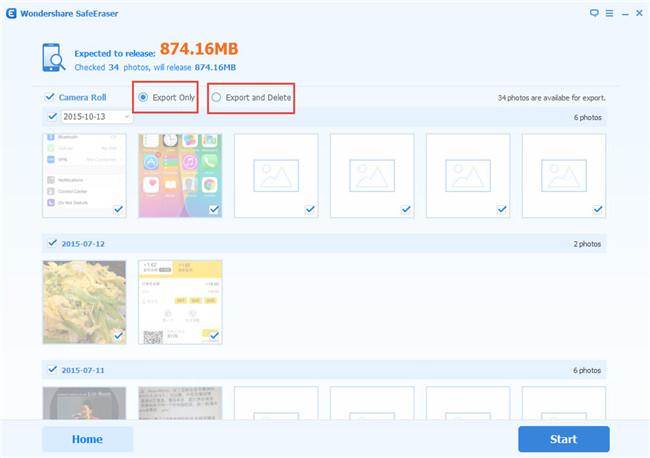
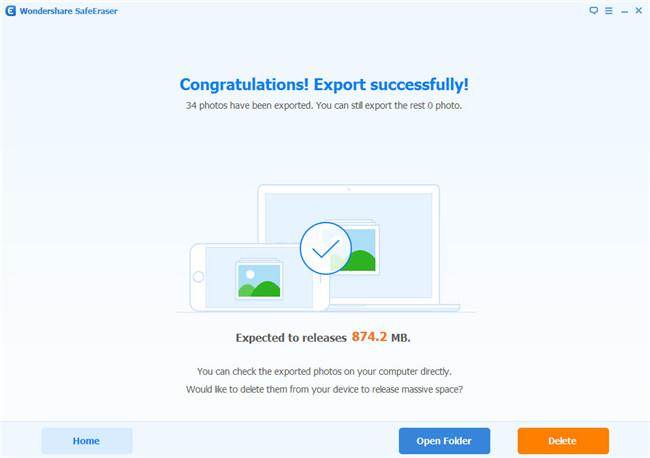
For Export, please click “Export” to move on. The program will automatically scan your iPhone or iPad, and show you the result after scanning.
According to your need, you can choose “Exprot Only” or “Export and Delete” before exporting, and set a export path for your selected photos, then, click “Start” to begin the transfer process.
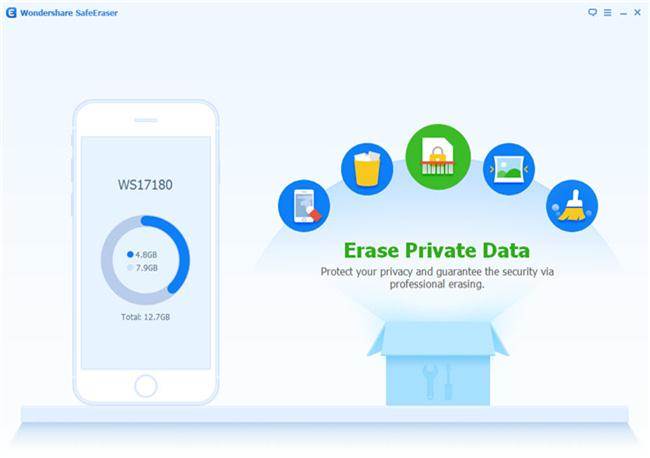
Click on “Erase Private Data” on the primary interface to enable the scanning.
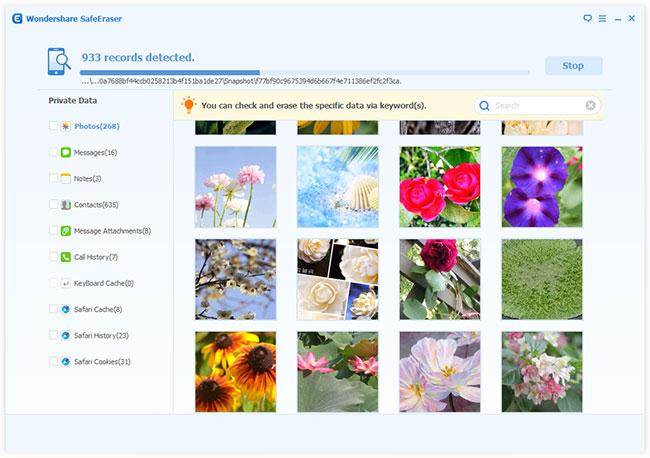
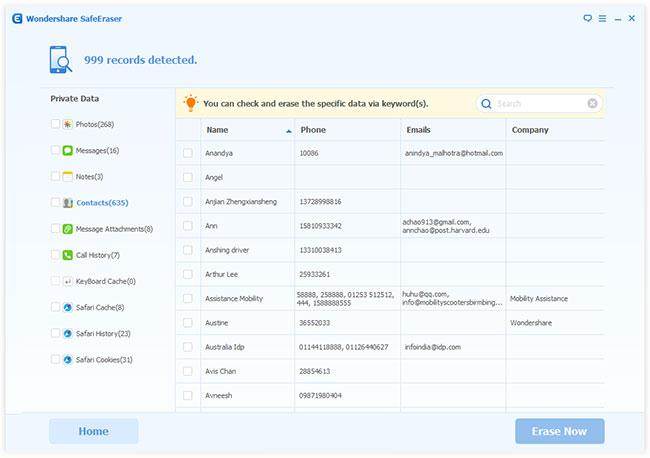
After scanning, tick the check boxes of the data you want to delete, and click on “Erase Now” to go on.
After typing “delete” in the text box, click “Erase Now” again to confirm the deletion.

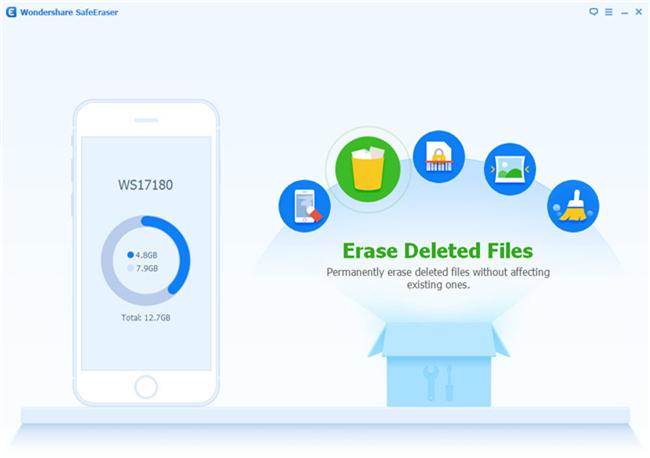
Click on “Erase Deleted Files” in the primary window to move on.
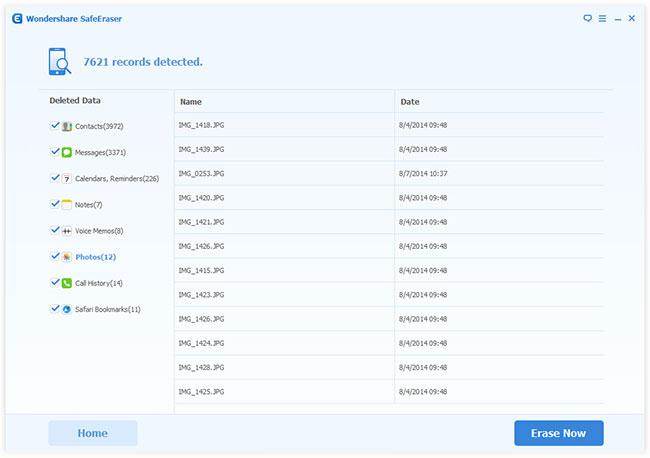
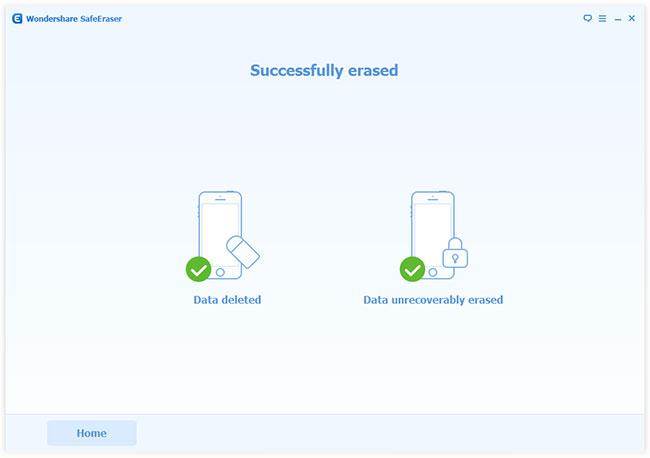
After Scanning, you need to check the data your wanted > click on “Erase Now” > type “delete” > click on “Erase Now” again, then the program will begins to erase your selected contents permanently.


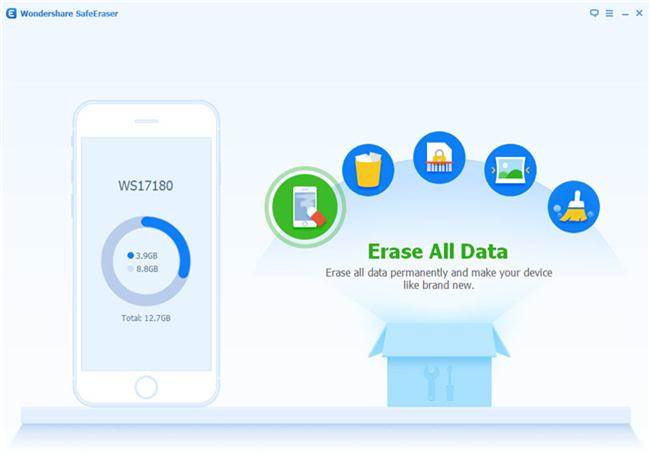
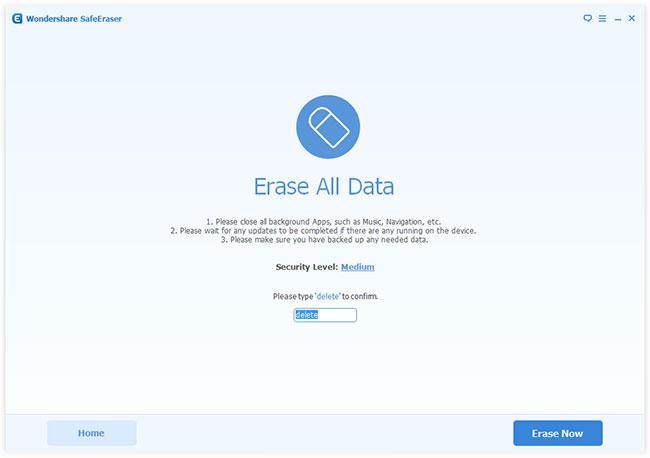
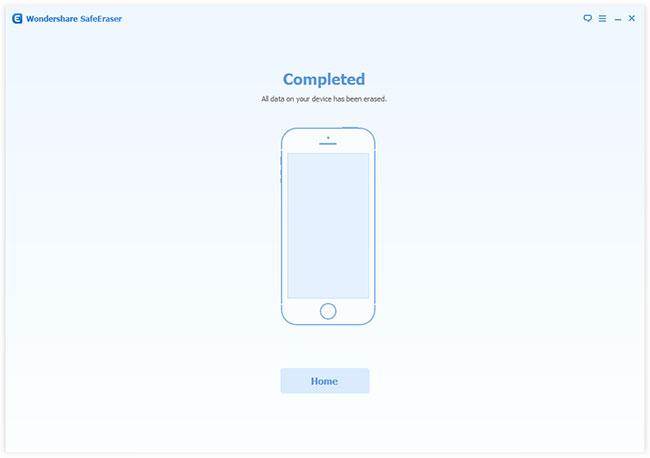
Click on “Erase All Data” in the homepage, and enter “delete” to confirm the deletion and move on. Please remember that this step will permanent wipe all contents and settings from your iPhone and iPad, once the erased process is finish, all the erased contents can not being restored no matter what powerful the iPhone iPad recovery tool you are using. So, you’d better back up data from iPhone iPad before wiping your device.
First thing: Find out what’s taking up the most space on your phone. You may have some unexpected storage hogs.
Open the Settings app then go to General > Usage > Manage Storage.
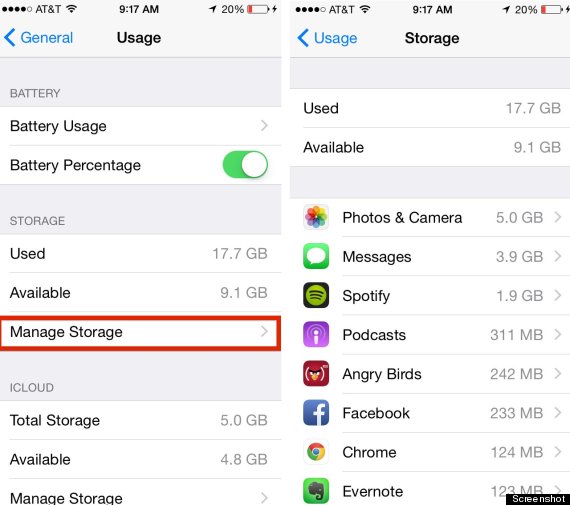
At the top, you’ll see how much space you’ve used and how much you have available. Below, there’s a list of your apps ranked by how much space they’re using. (It will take a minute to load.) When loading is completed, you can analyze this list and selectively to clear the unwanted apps from your iPhone or iPad.
Apparently, you may not listen to the podcasts or watch the TV shows again which you have been watched? In general is like this, isn’t it? You must know that a 30-minute podcast can be 25 MB. So if you have a bunch of podcasts downloaded to your iPhone or iPad, you may find the reason why your memory is always scarce.

Apple’s Podcast app even sorts which ones you have played at the bottom of each list. Just swipe left on the individual podcast to delete.