“Hello, I’m Tony. I am a loyal apple fan.Now,my computer is MacBook Pro, my tablet is iPad pro, my phone is iPhone 6s. In my opinion, it’s valuable to be equipped with a iOS system. I heard that iPad Air 3 is about to be released, and I am excited about it. As a loyal fan, how can I miss iPad Air 3? Moreover, it is equipped with the latest A9X processor. Then, how to deal with my iPad pro? I have a lot of information in the old iPad, which can not be leaked out. But it’s wasteful without using it. So I’m going to give it to my sister, Jenny. She’s been coveted for a long time. And prior to this, I have to completely delete all the information. What should I do?”
Hello, Tony. For your problem, trust me. This can be solved. Nothing is difficult if you put your heart into it. You can use a software – iOS SafeEraser for Mac. This software will be very good to help you.

iOS SafeEraser for Mac lets you delete all data or cache of once deleted files from your iPhone, iPad, and iPod touch permanently. It can fully wipe your device for the private and deleted content, clean up garbage files, clean up files you’ve deleted, and compress photos to free up your storage space.


So, let me introduce how to use the software to clean up all the data from iPad on Mac.
Step 1. Download the iOS SafeEraser for Mac from the official website, install and run it according to the prompt. At the same time, connect your iPad to the Mac via its USB cable.
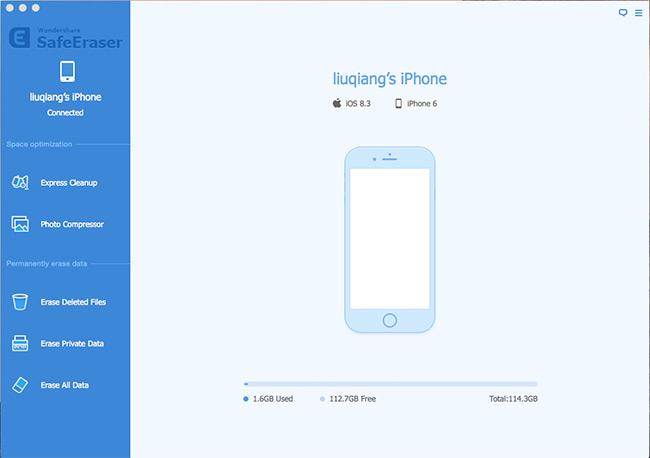
When your iPad is detected, you can see the interface as follows.
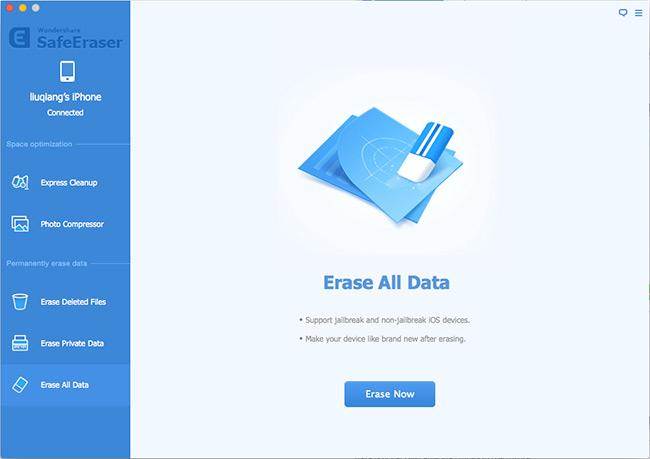
Step 2. In the left column you can see there are five options, you should click on the fifth — “Erase All Data” and press “Erase Now”. Type “Delete” in the box to confirm the deletion and click “Start”.
Note:Before you make sure you want to delete all the data, you’d better back up the data to iTunes or iCloud. Because once you use the software to completely remove your information, you will never be able to restore them.
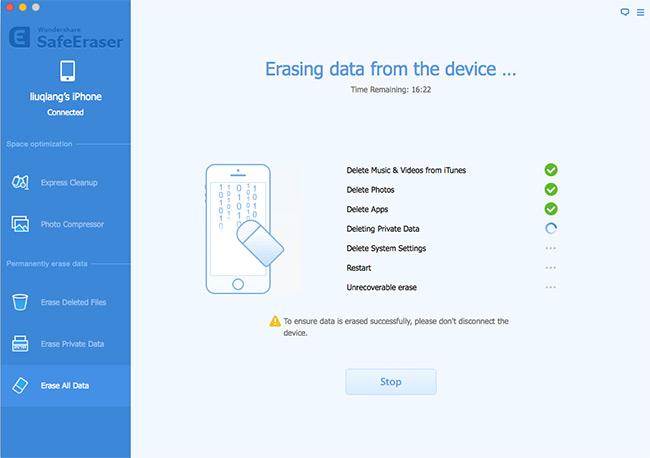
Step 3. At this point, you can see the deletion being carried out, all the data on your iPad will be cleared up. You can click “Stop” to terminate the wiping process.
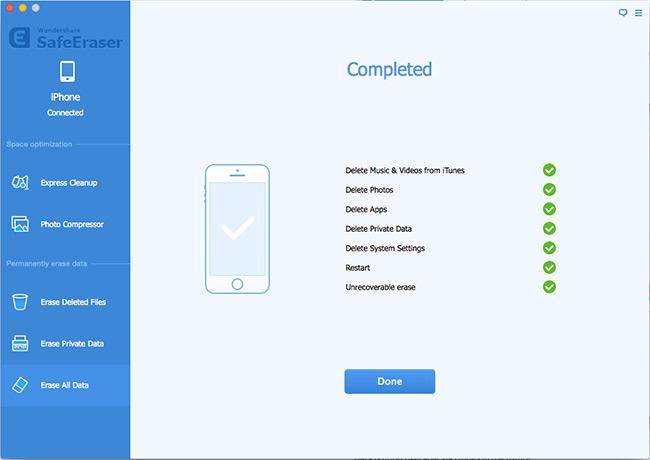
Step 4. Finally, after the completion of the deletion, you will see the following chart, just click “Done”.